🎨 Add a scene
In the flow editor, add a scene by double clicking anywhere on canvas, after which a popup appears to select one of 5 different scene types.
ℹ️ Fill in scene information
Once you select your scene type, enter the scene information which is used to understand what happens within a scene.
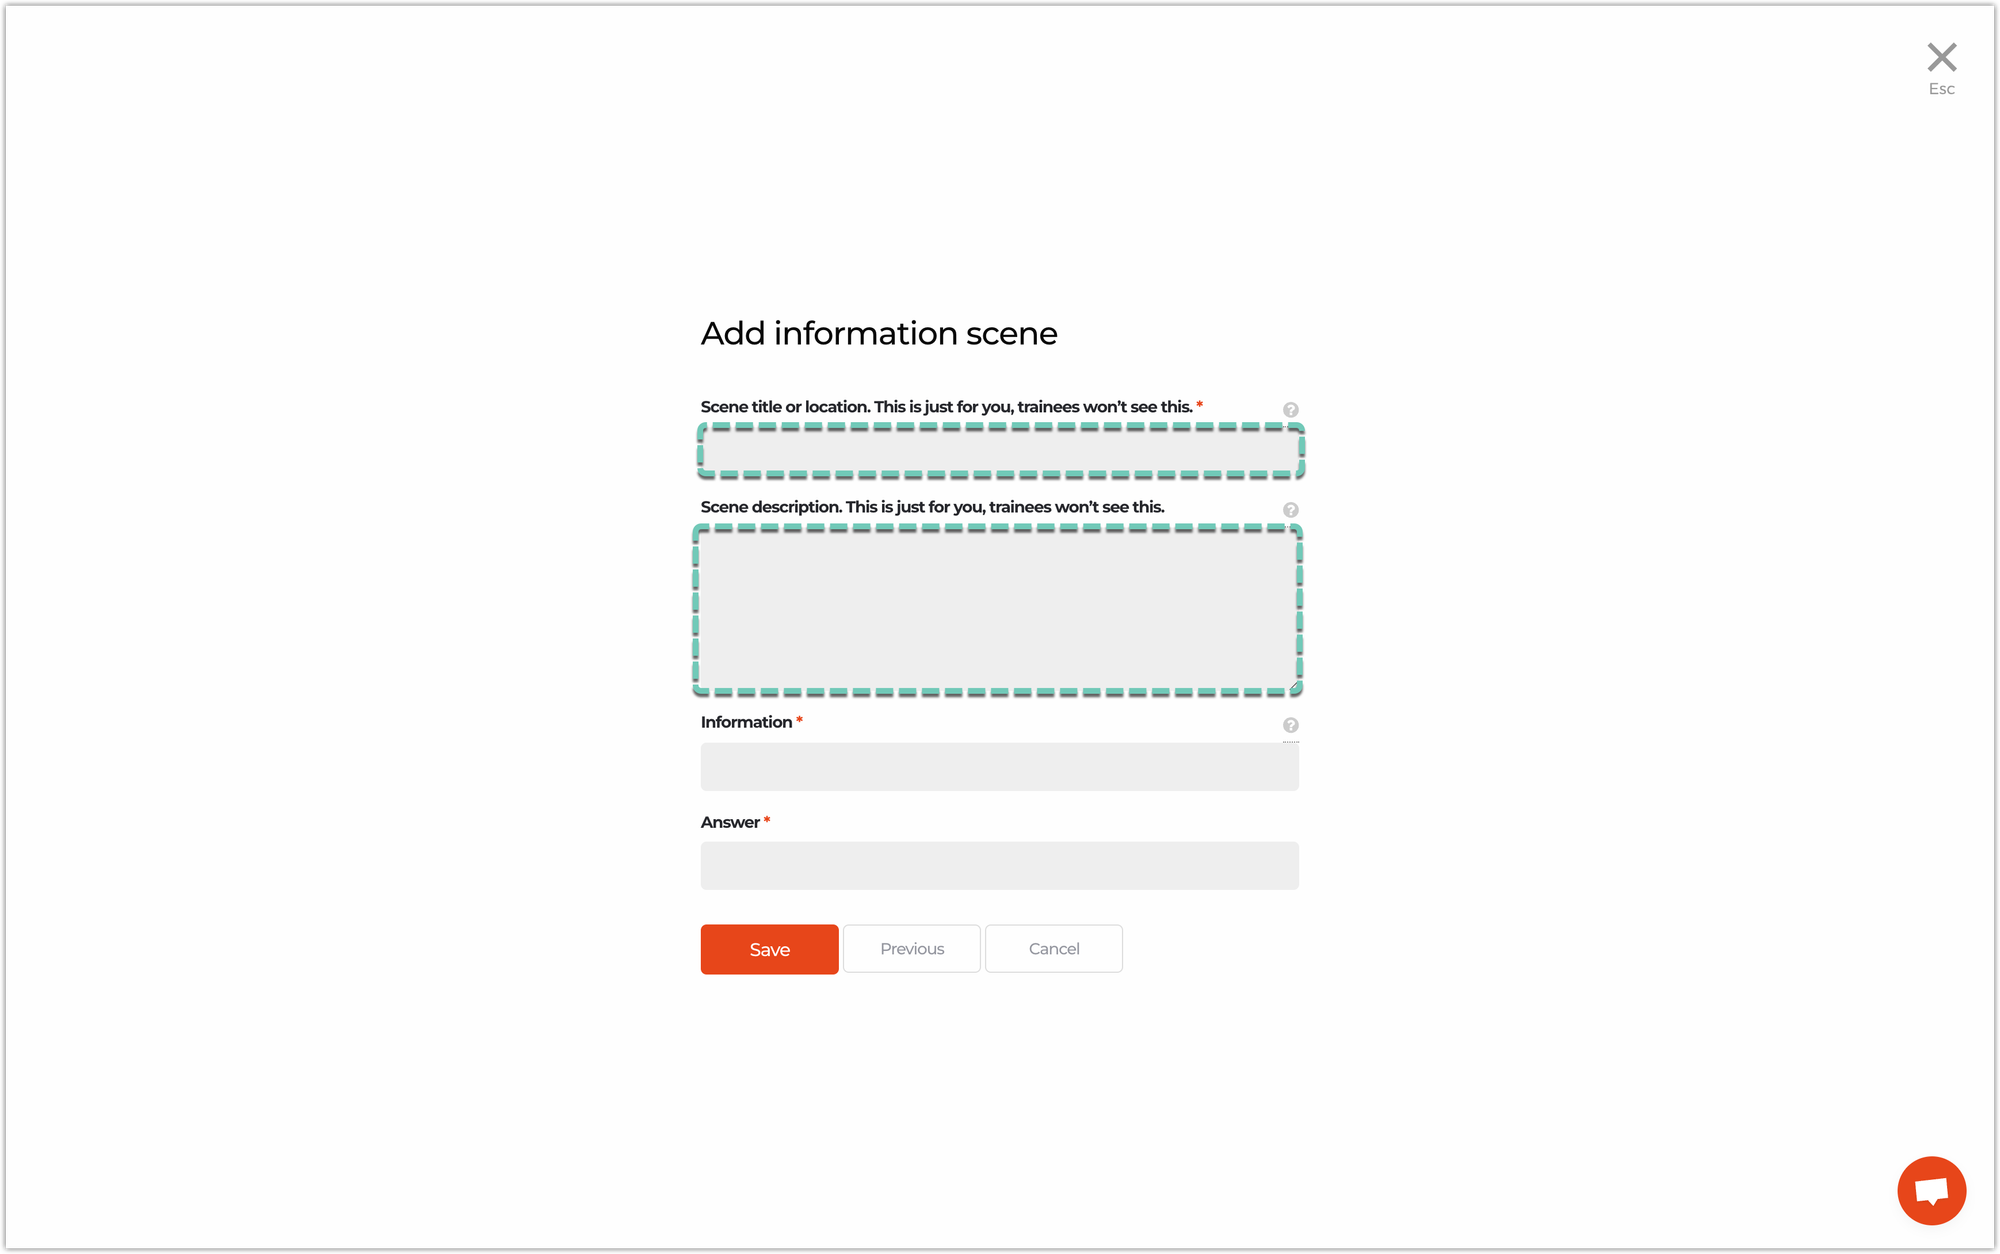
- Add a short description of the scene or a location of the camera in the Scene title or location field.
- Describe what happens in the scene and what the trainee is supposed to see and experience, in the Scene description field. You can also add the script if you use actors.
This is useful for you, as well as any of your team members who’d like to test the scenario before being published. It’s also useful to have all these details exported for the day of filming. 😎
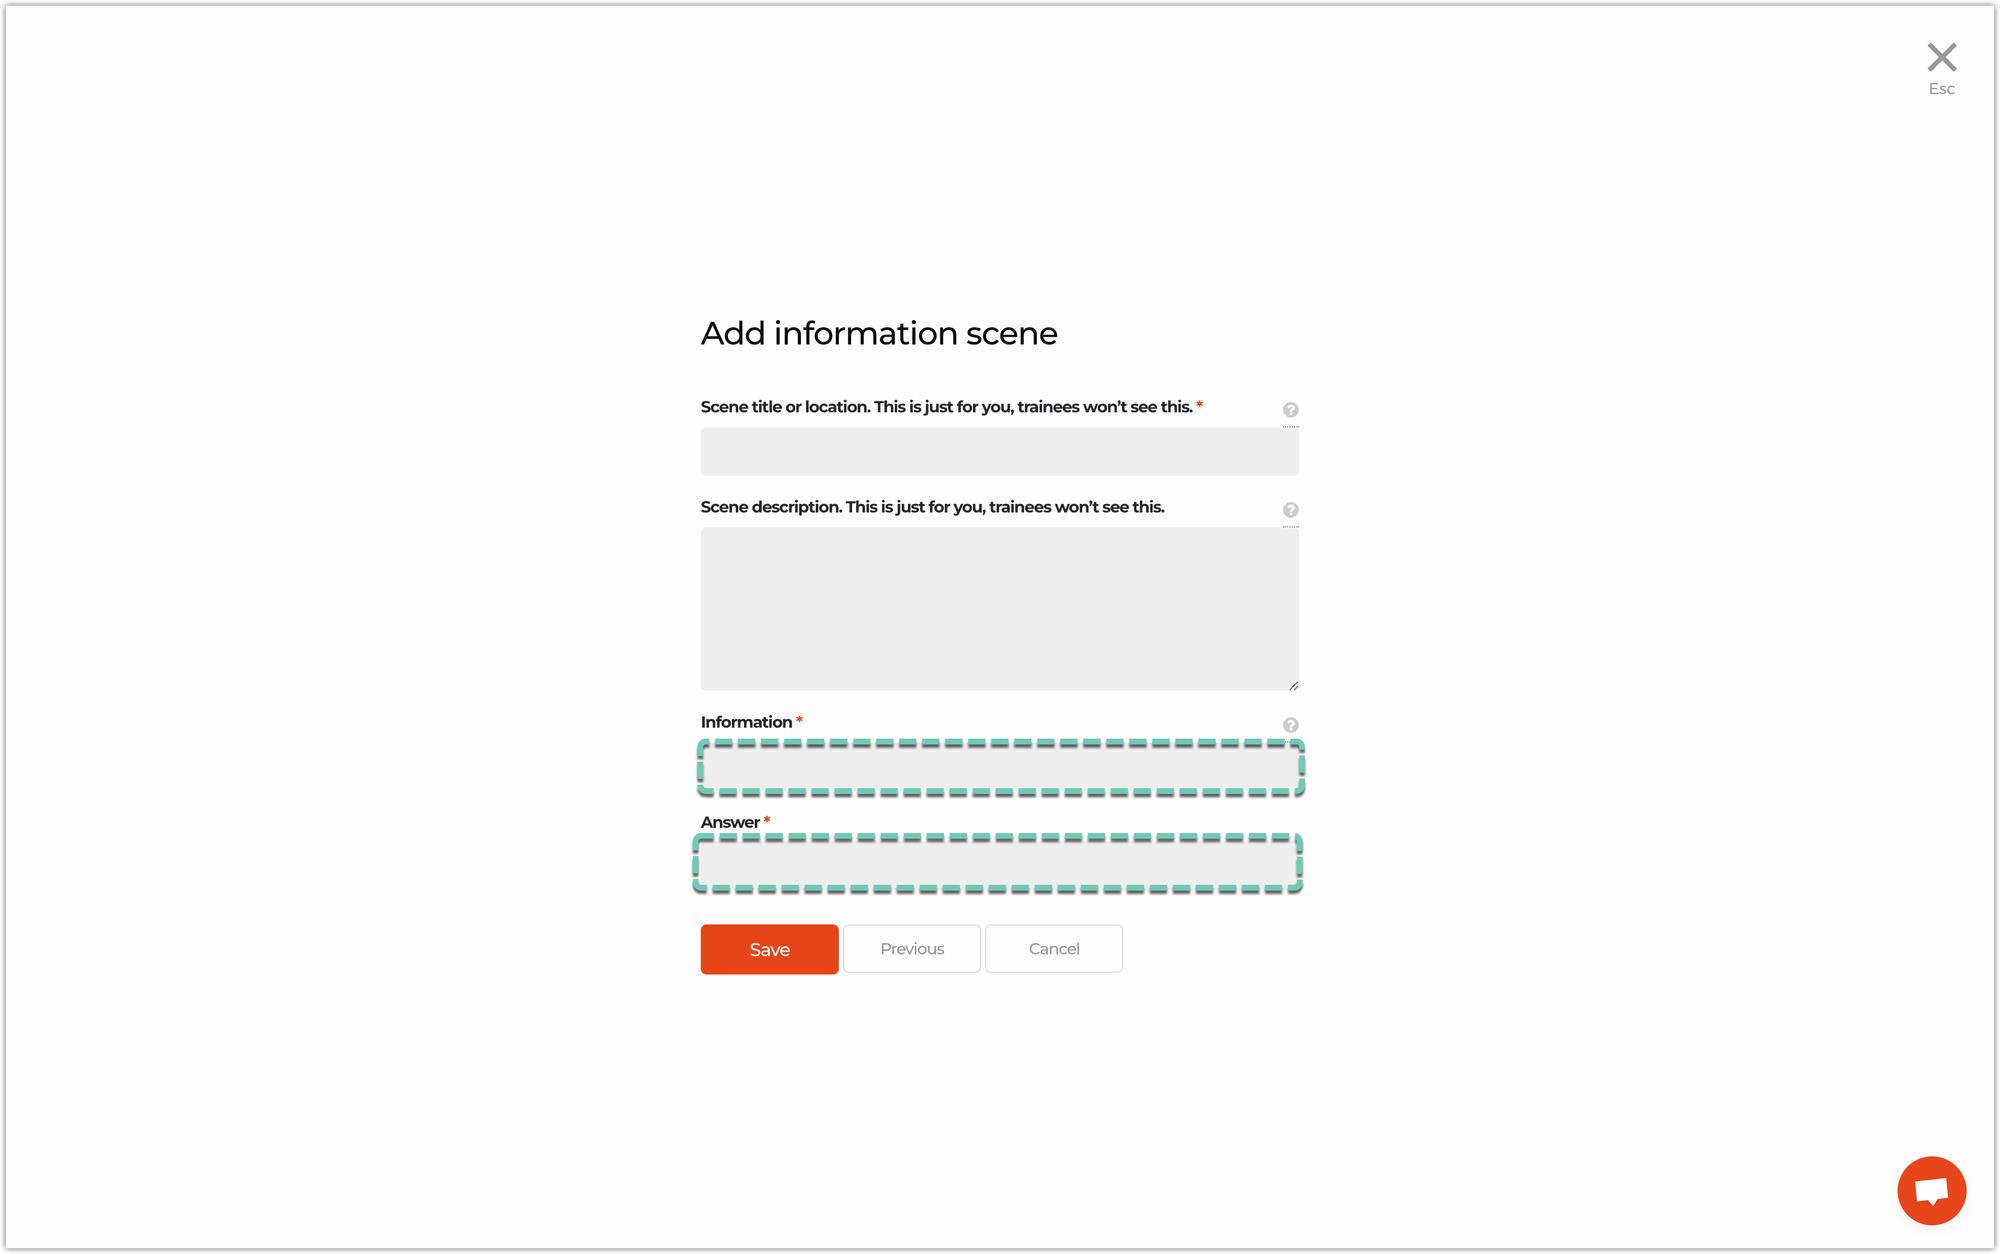
The other fields are visible for trainees as well, when playing your scenario.
- The first field is Information. Enter the question you would like to ask the trainees. 🧐
- The next field is dependent on the scene type. In the example below, we used Information scene type, where Answer is used for the text you want to appear in the clickable button.
🏠 Front side of a scene card
Once a scene is added to your scenario, it is shown in the form of a card. On the front side of the card, you can see: the scene type, number and title. On the right side of the front card, you can see the number of links this scene has. Links are always displayed as letters, starting with 🅰️.
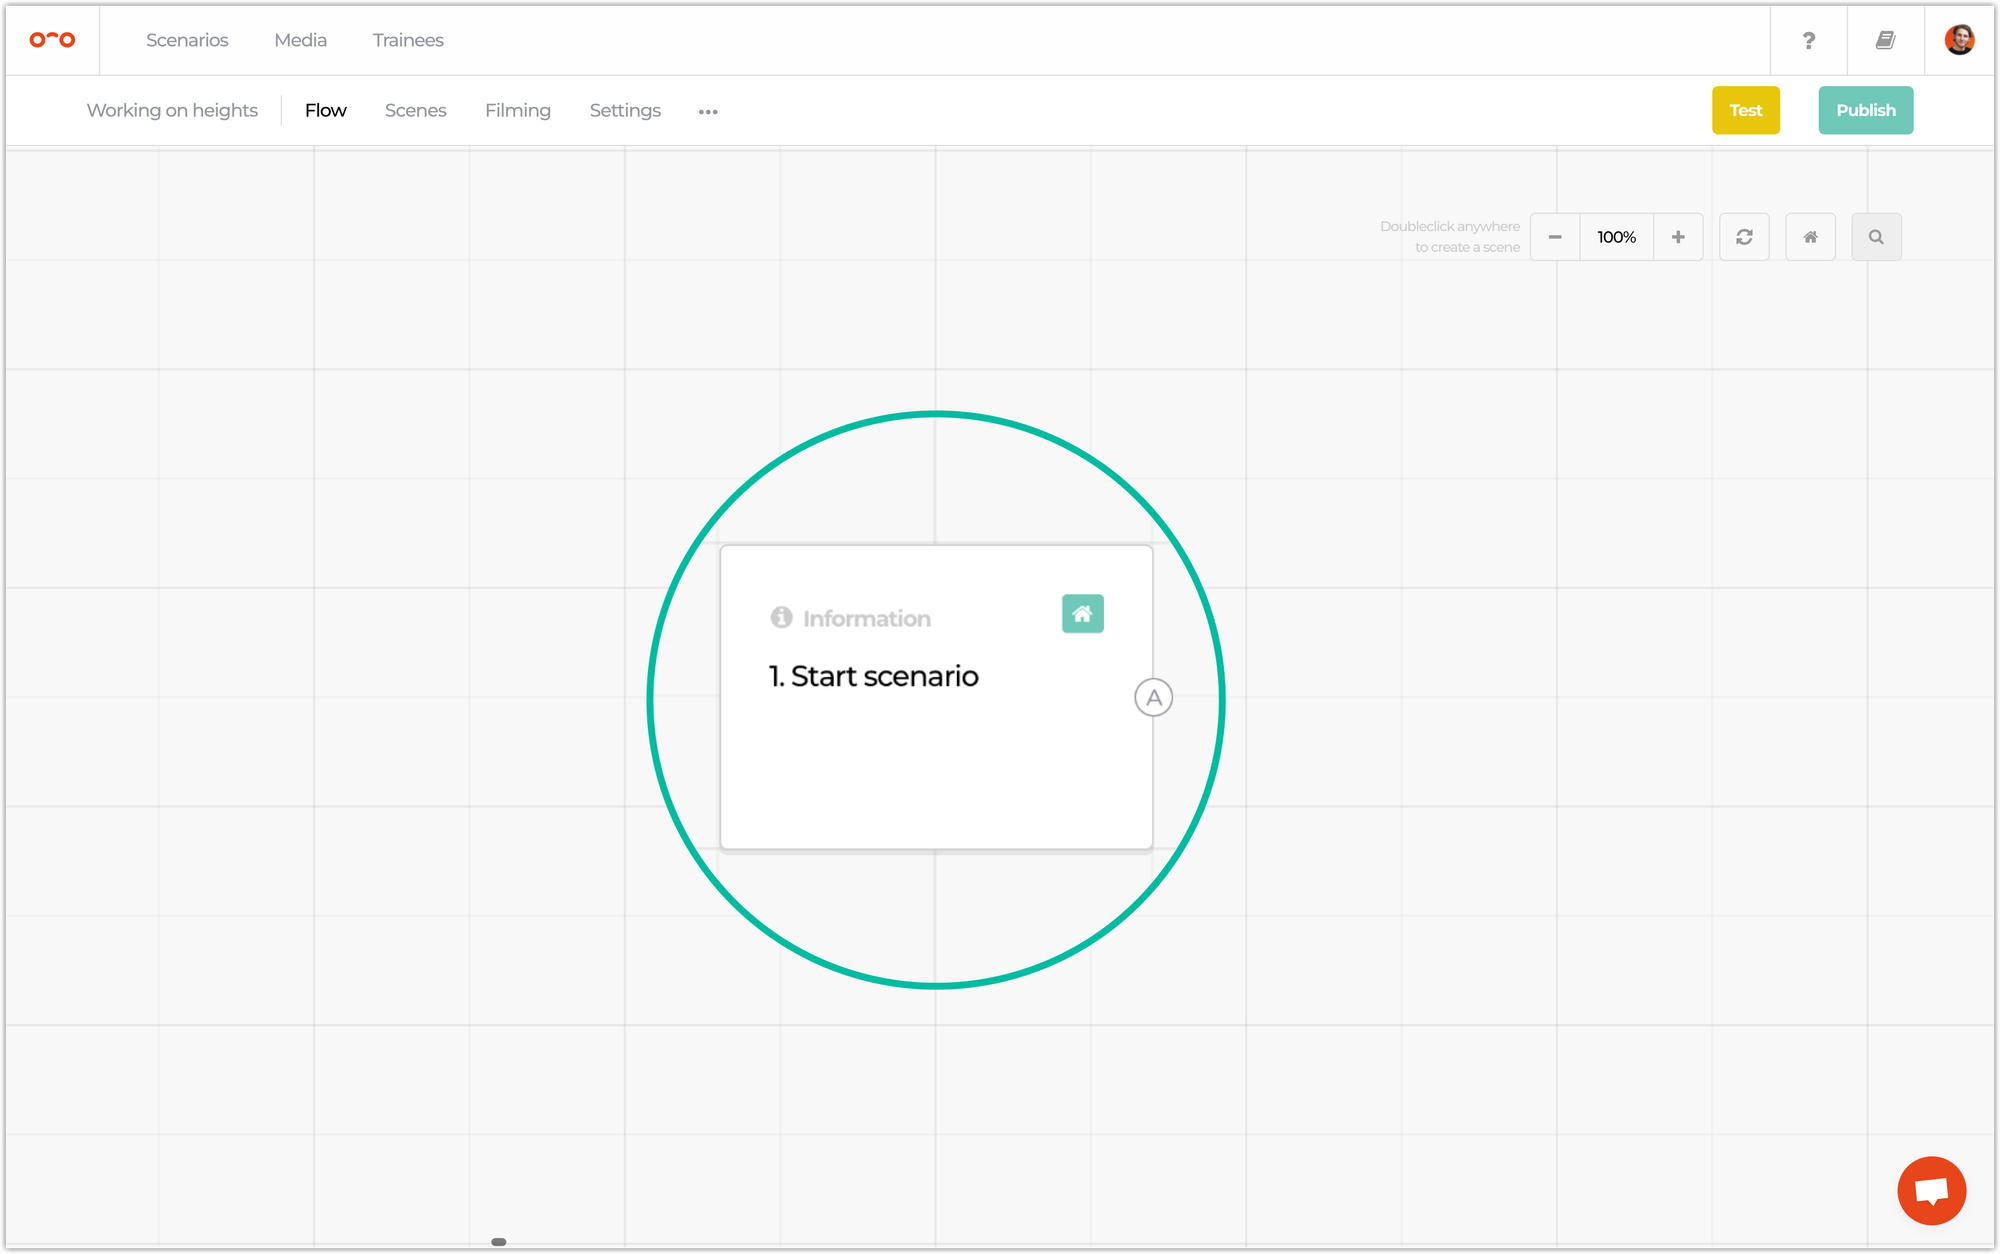
A green home icon is only shown on the card where the scenario starts. After adding more scenes, you can select another scene as a start scene. 🏁
🃏 Backside of a scene card
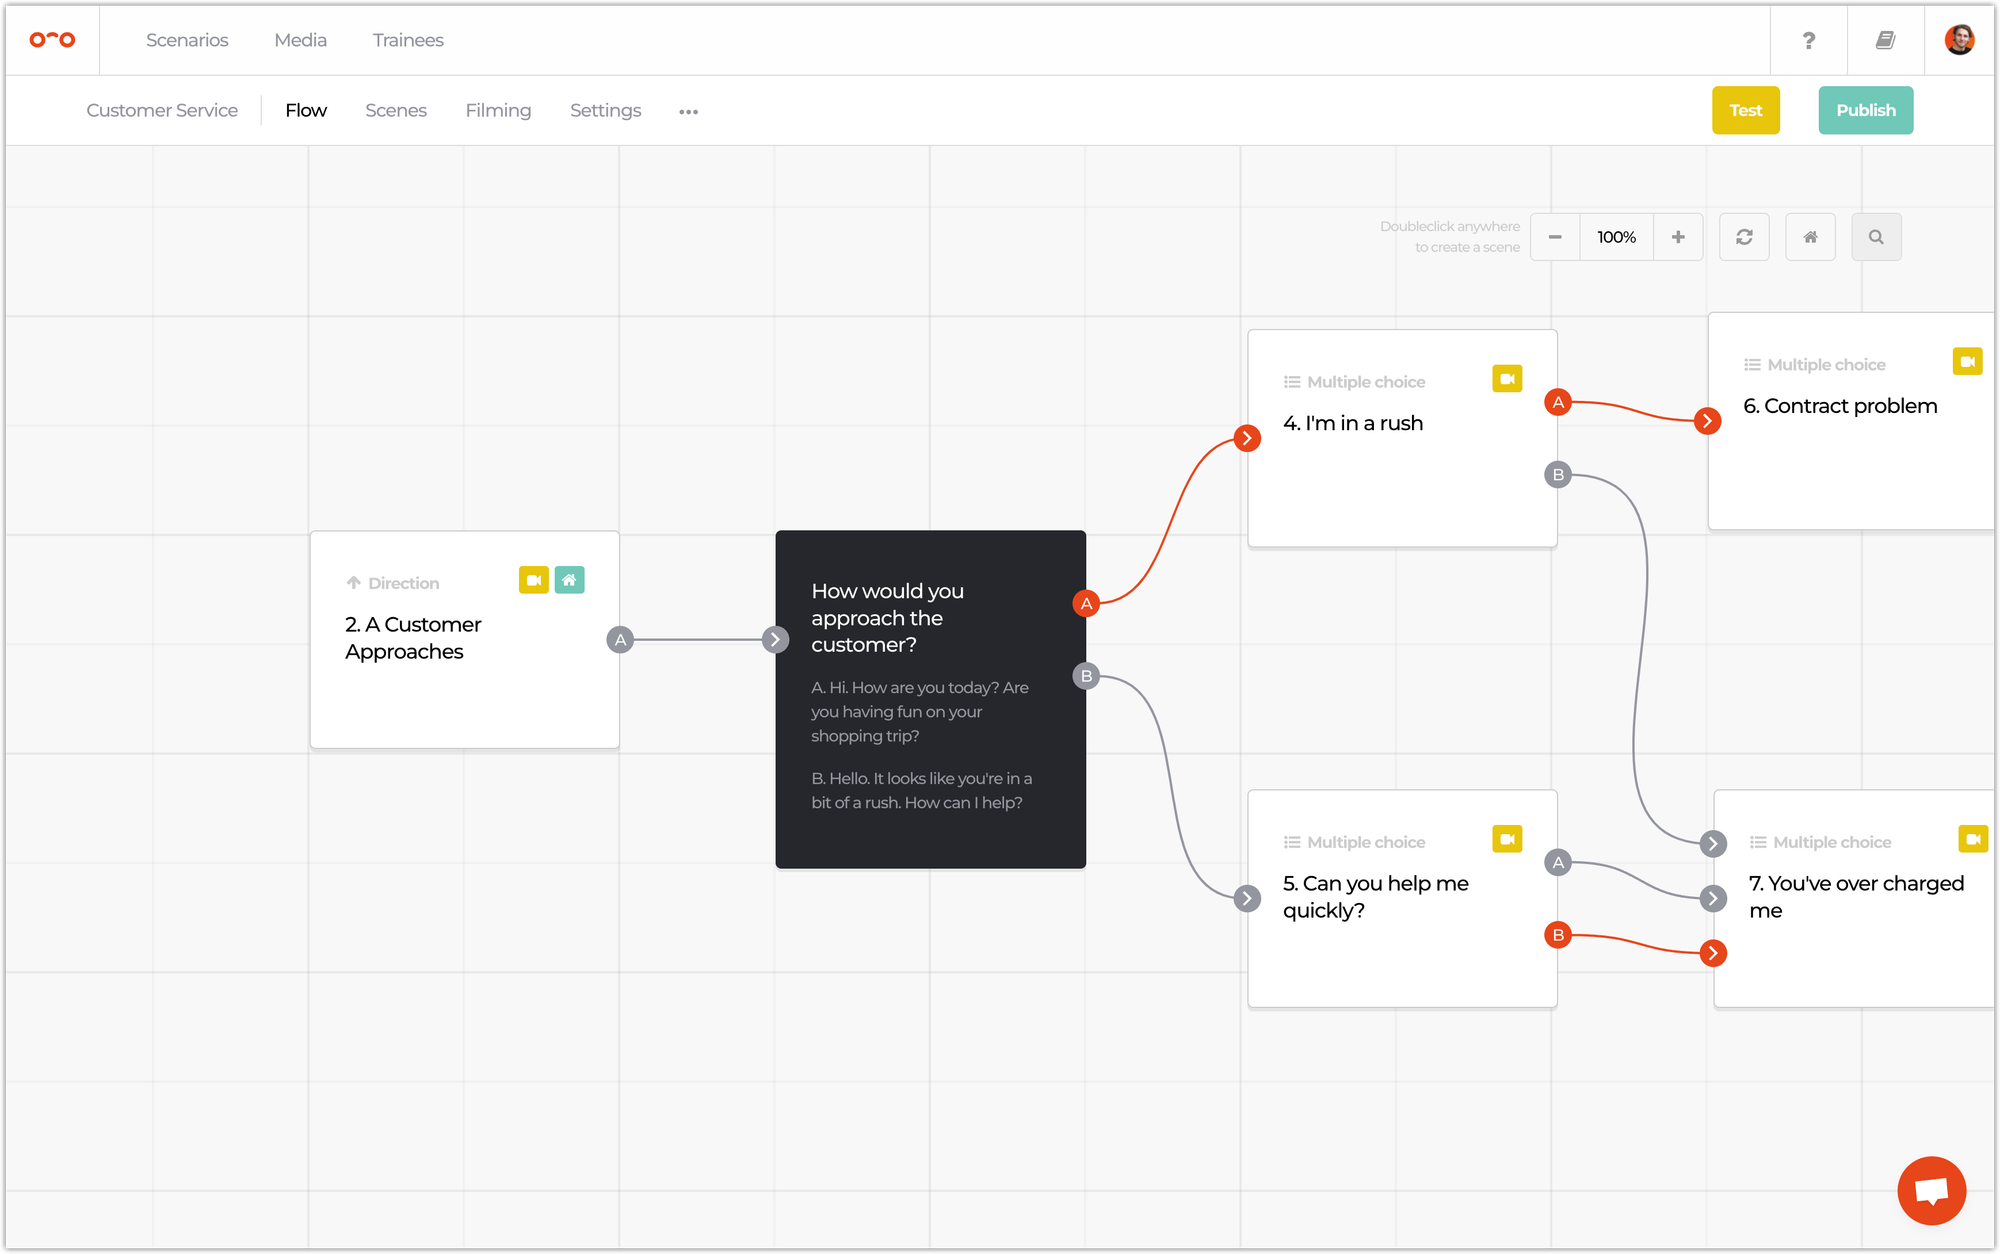
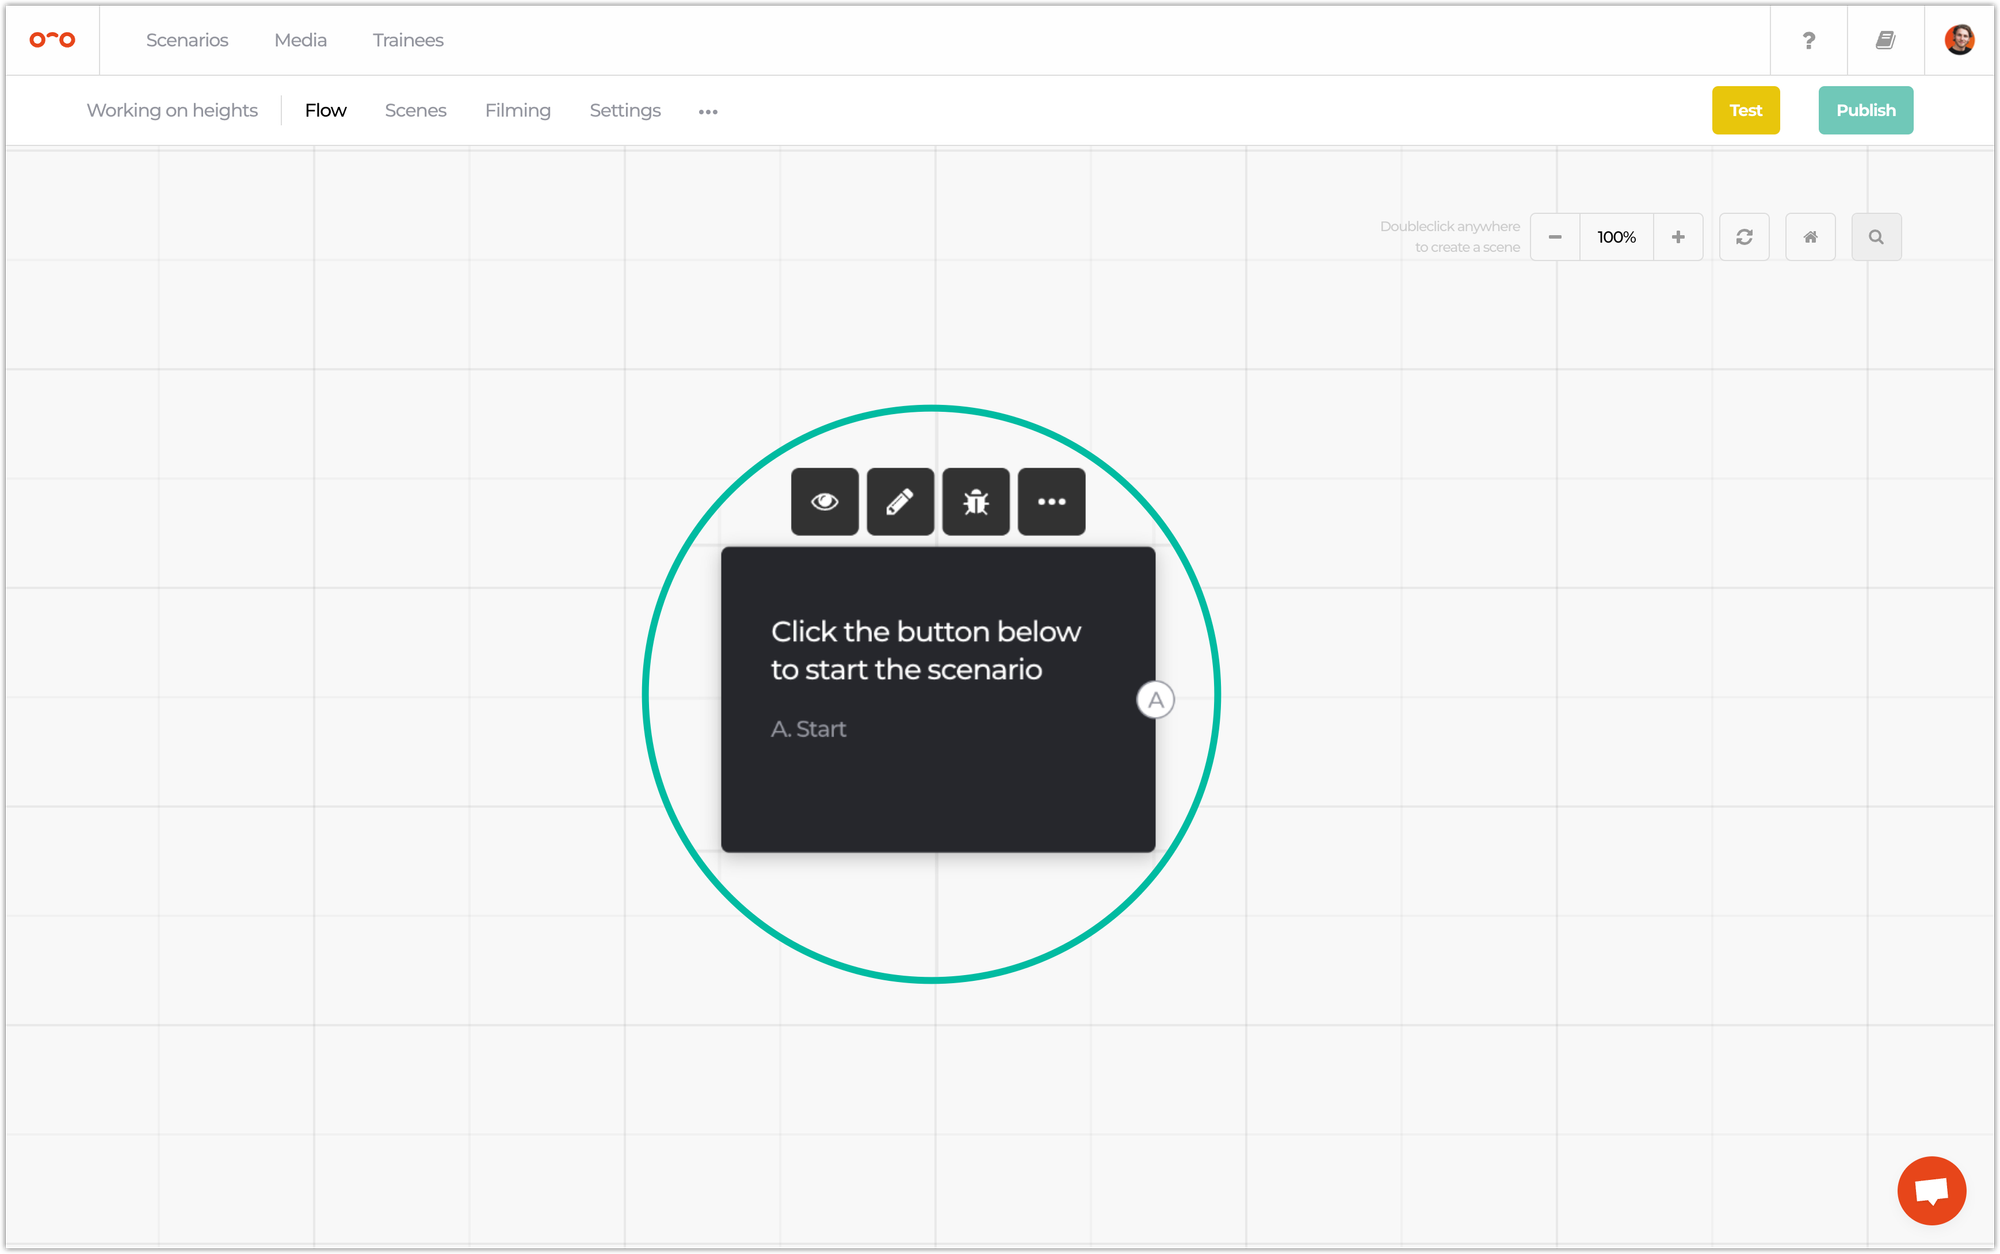
When you click on a card, it will flip to show the back side, containing the question and possible answers for that scene. The letters of the answers on the back relate to the letters of the links on the right side of the card. So answer 🅰️ is linked to letter 🅰️ on the right.
⚙️ Scene functions
When you hover over a card, several icons appear on the top of the card.
- Eye icon 👁 will show more details of a scene, including the uploaded 360 video for that scene, with the video editor.
- Pencil icon ✏️ will open a pop up window to edit a scene.
- Bug icon 🪲 will open a new tab in which you can test a scene.
- Three dots 🚥 will reveal a dropdown menu with the options of changing the camera location and duplicating, changing or deleting a scene.
Interested in more?
➡️ Learn how to upload a 360 video to a scene. ➡️ Learn how to set up a scoring system per scene for tracking training analytics.
