If you already wrote your scenario, including characters, dialogs, choices available and more, then we can introduce you to our workflow of building a scenario in Warp Studio. 🤓
🪂 Log in to Warp Studio
To be able to do anything in Warp Studio, you have to be logged in your account first.
⚠️ To have access to a Warp Studio account, you need to be invited first, either by us or your colleagues. If you don’t have an account yet and are interested in one, let us know here.
🏗 Build a scenario
Before we go into details, let’s go over the basics:
- A scene represents a video where something specific happens and the trainee has to make a decision, in order to proceed to the next scene. Each scene has different consequences, according to the choice made in the previous scene.
- A scenario is a collection of interconnected scenes, which together form a VR training.
- A course is a collection of multiple scenarios. Check how to create a course.
➡️ Create a scenario
- Open your Warp Studio account.
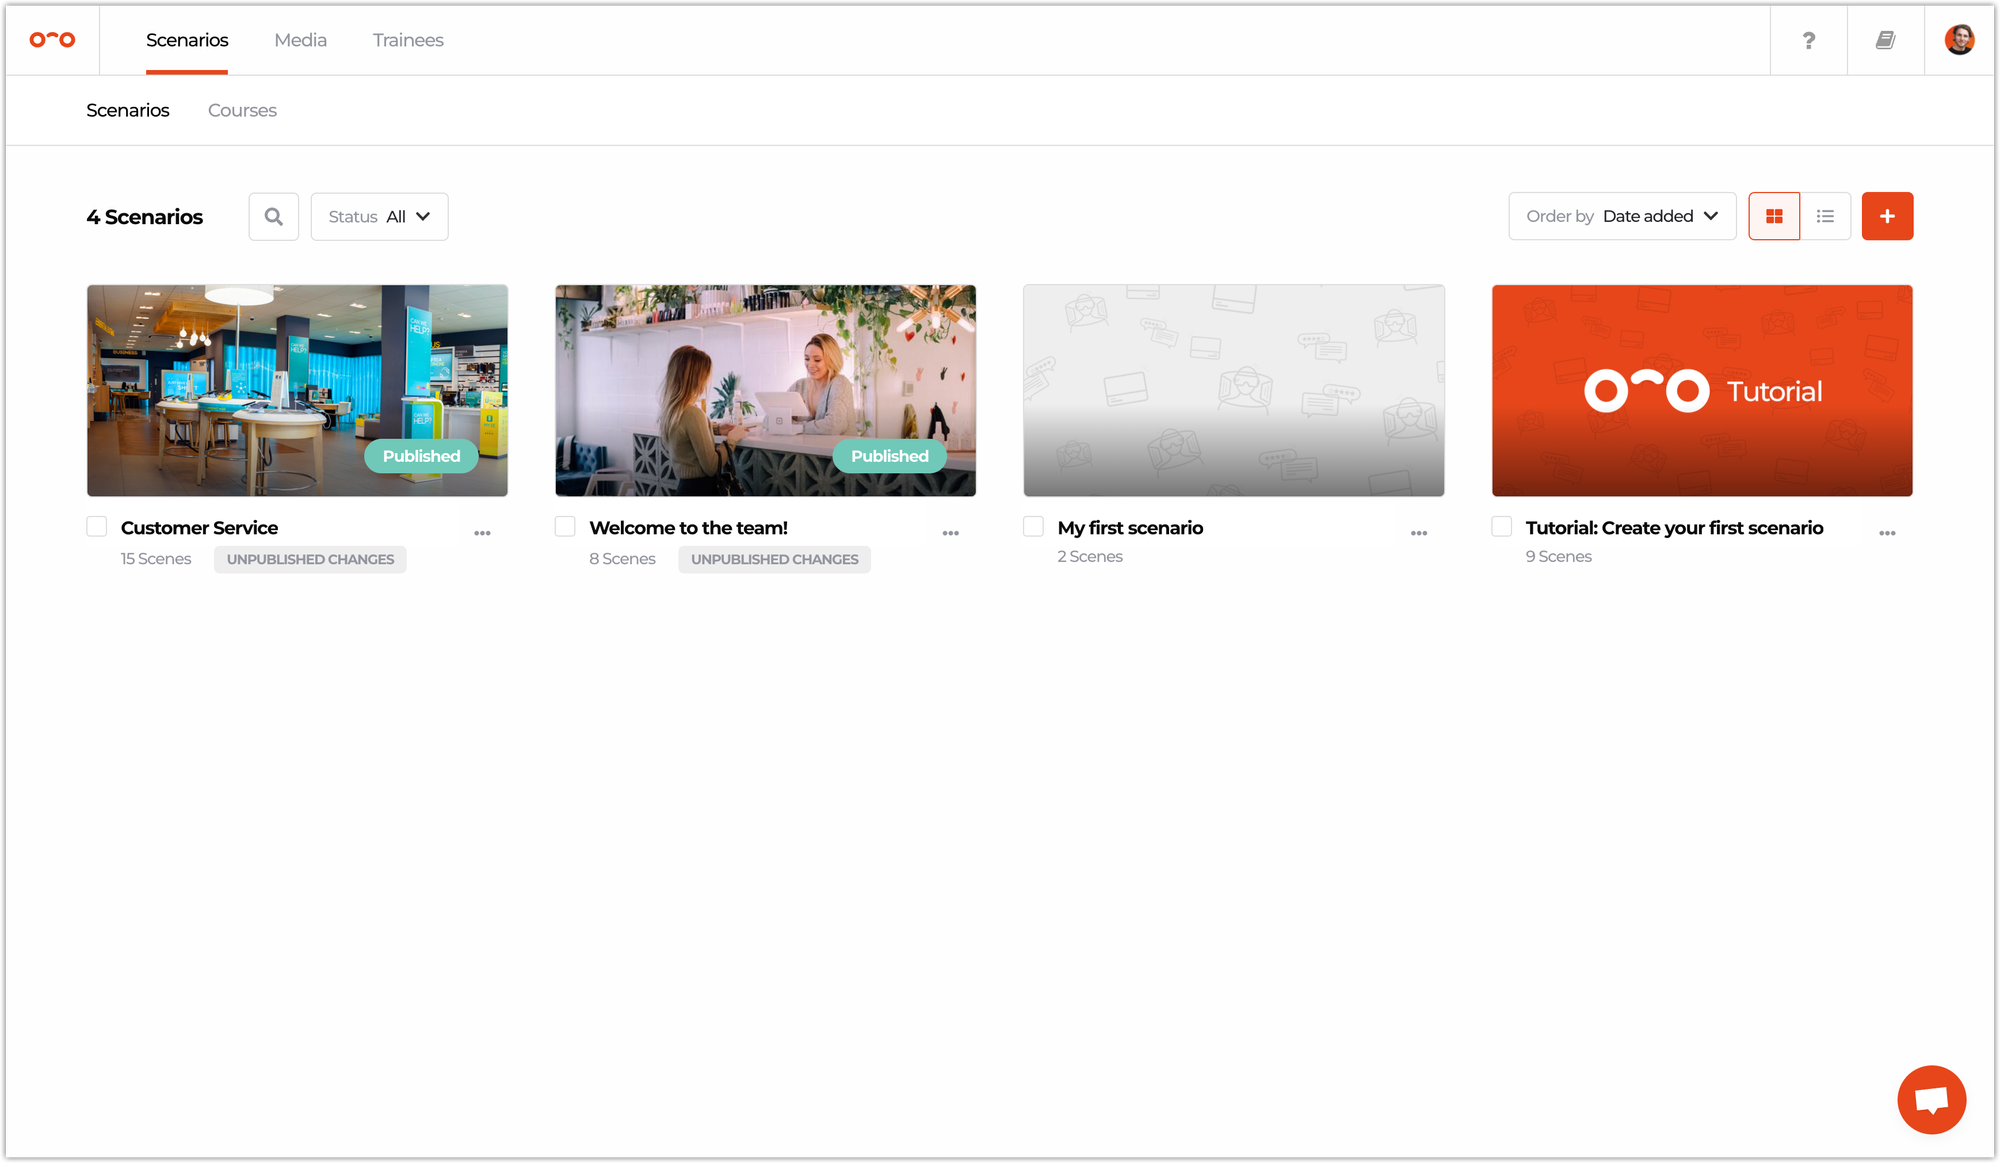
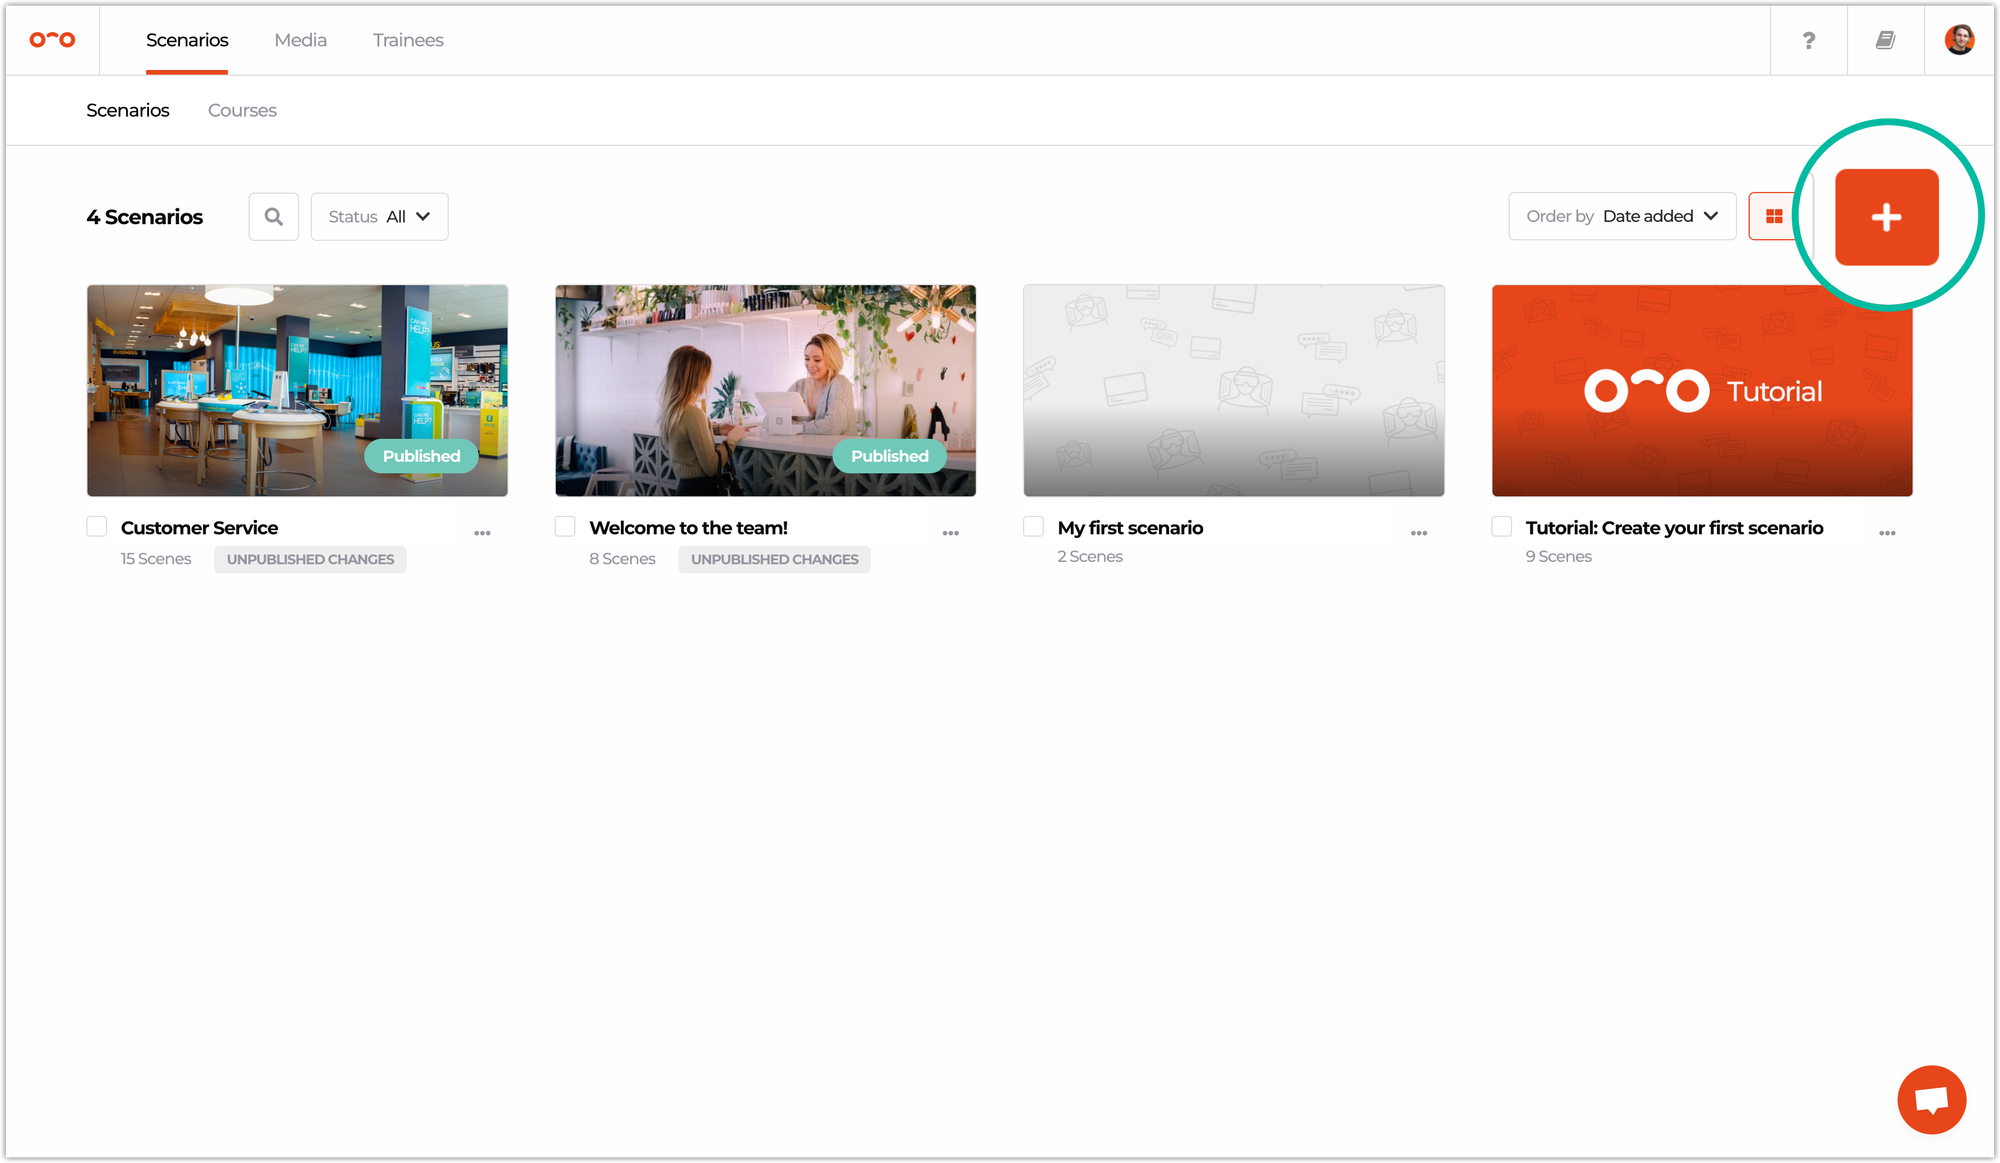
- Navigate to the Scenarios tab in the top left corner.
- Click the Add scenario button in the top right.
Setup the basic details about your scenario by entering:
- Title.
- Scenario description.
- Cover image.
These are visible in the Warp VR app to all trainees invited for the scenario.
Therefore, we recommend to use a title and cover image that are connected to what the training is about, as well as to inform trainees in the description field the purpose of the training 🏋️♂️ in more detail.
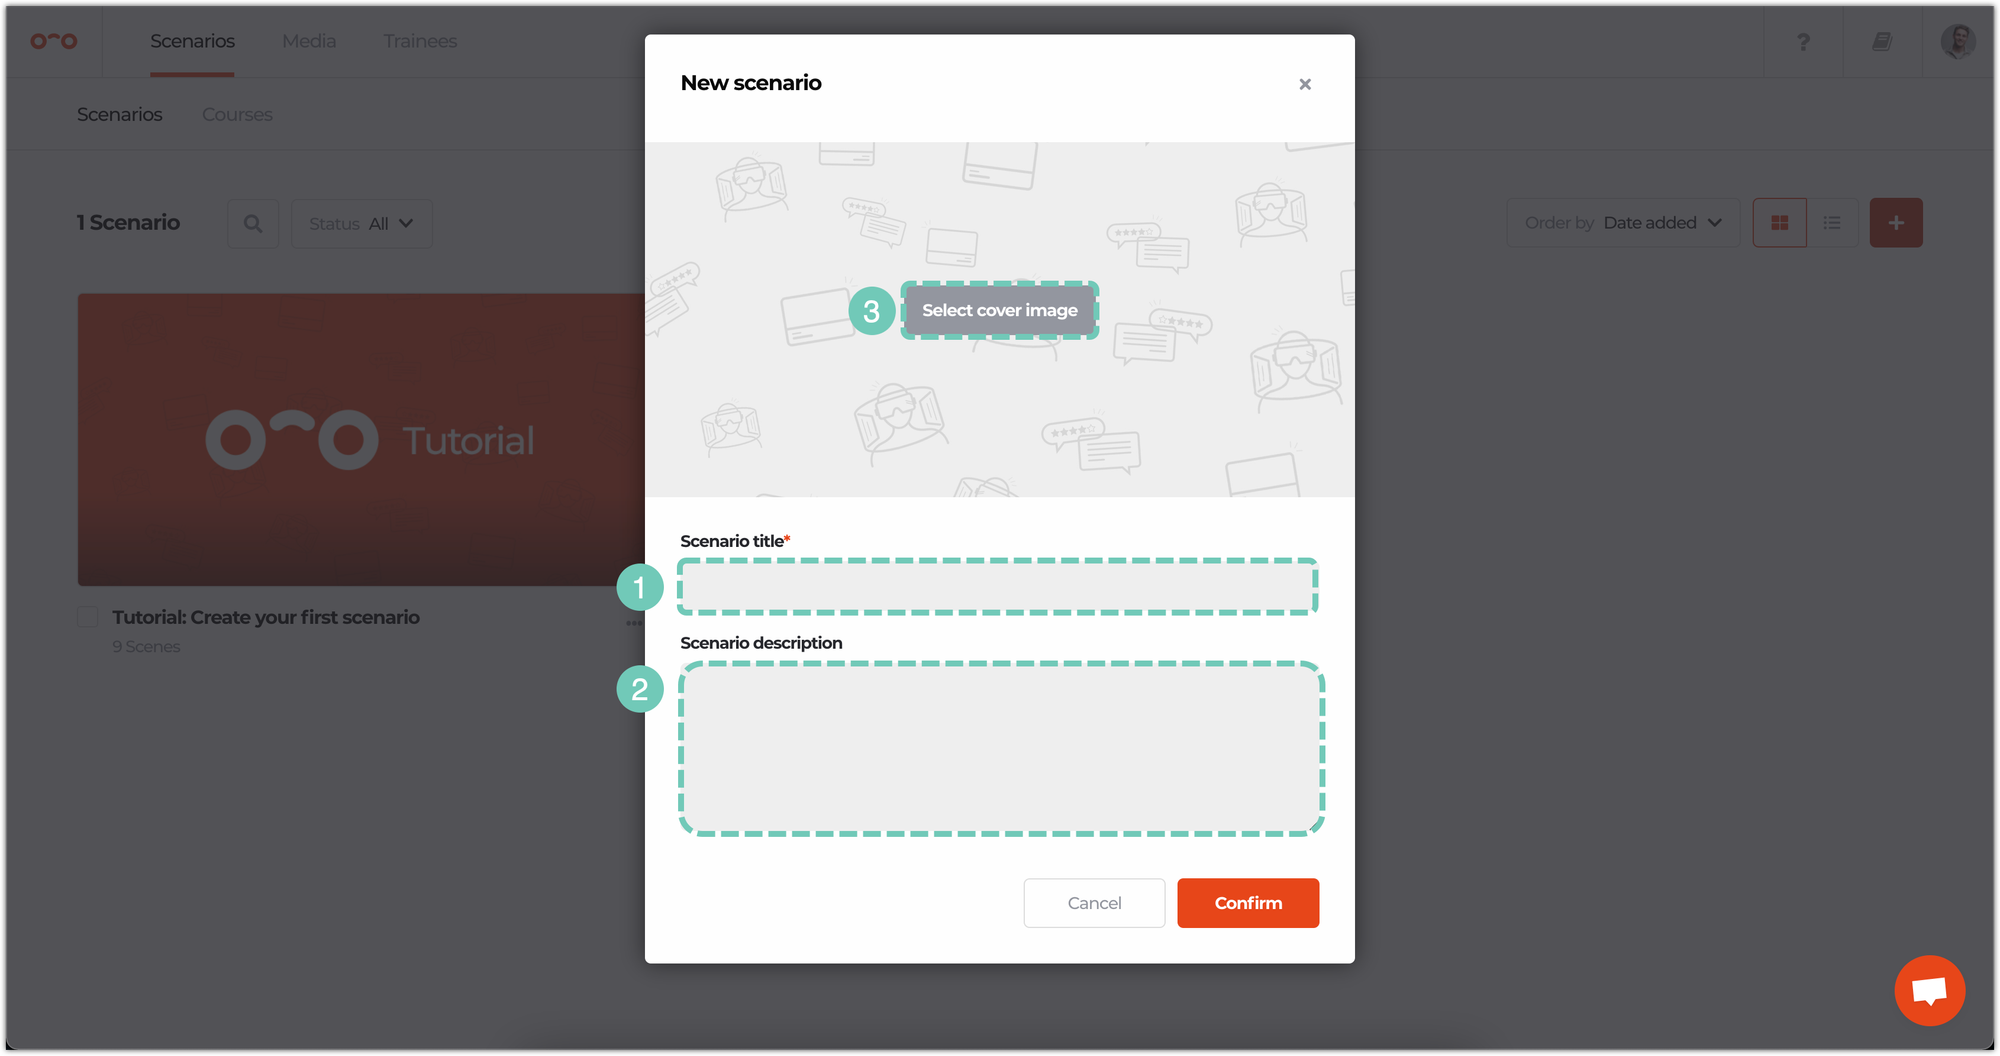
- Click Confirm to create your scenario. This will open the Flow editor where you can start building your scenario by adding scenes.
➡️ Create scenes
- Add a scene by double clicking anywhere on the Flow canvas, after which a popup appears to select a scene type. There are 5 different scene types you can choose from. 🧐
- After selecting a scene type, enter the scene information, which is used to understand what happens in a scene and to collaborate with others.
- Add a title or a location of the camera. Then in the Scene description field, describe what happens in the scene and what you want the trainee to see and experience. You can also add the script here if you use actors.
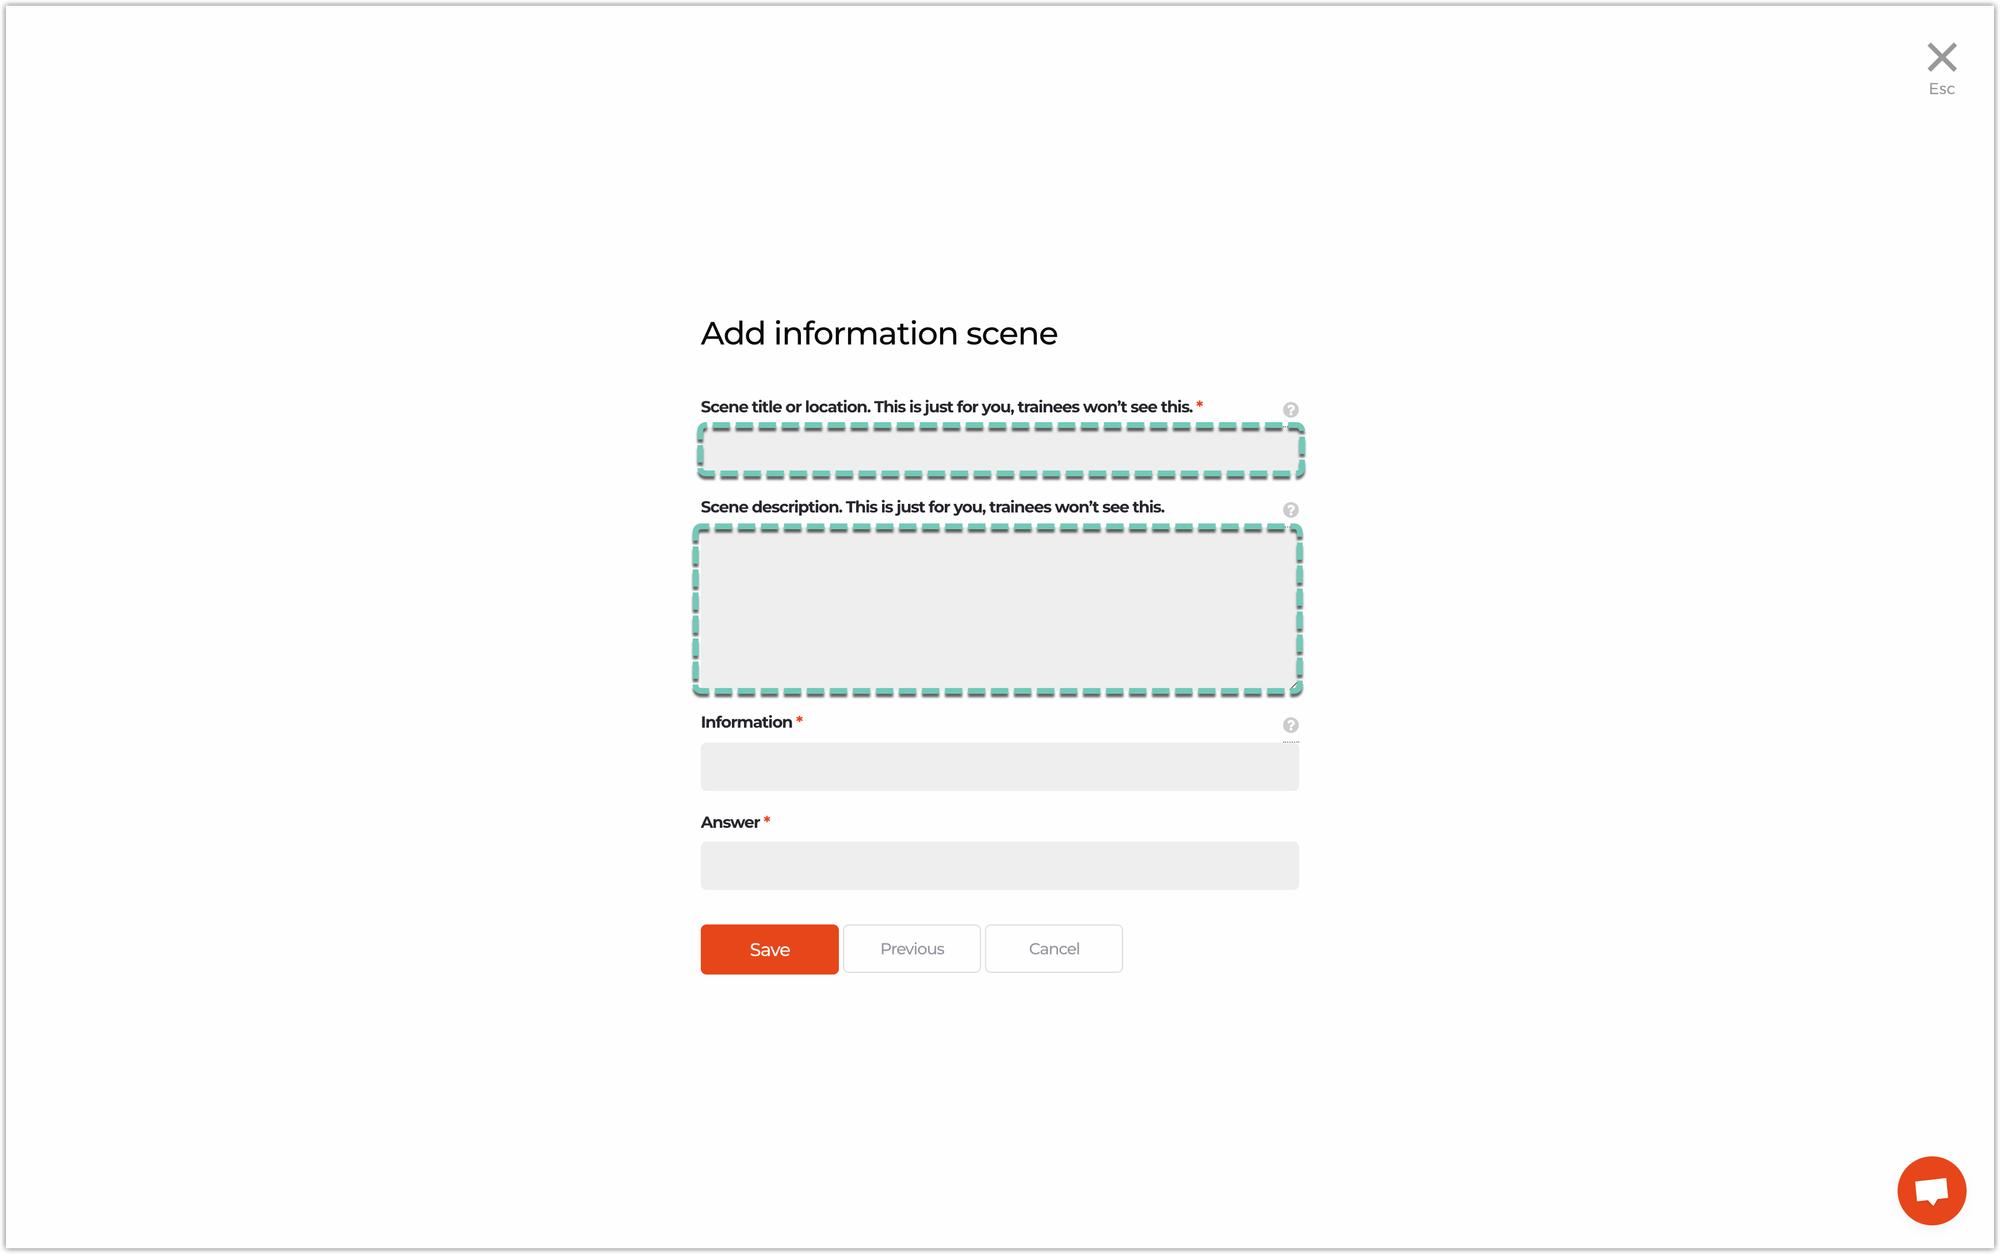
The other fields are visible for trainees when playing your scenario.
- The first field is Information. Enter here the question you’d like to ask the trainees.
- The next field is dependent on the scene type. In the example above, Answer is used for the text you want to appear in the button.
After adding more than one scene on the canvas, don’t forget to connect them between each other and give them an order of flow.
For more details on all scene possibilities, check here. 👀
➡️ Test before filming
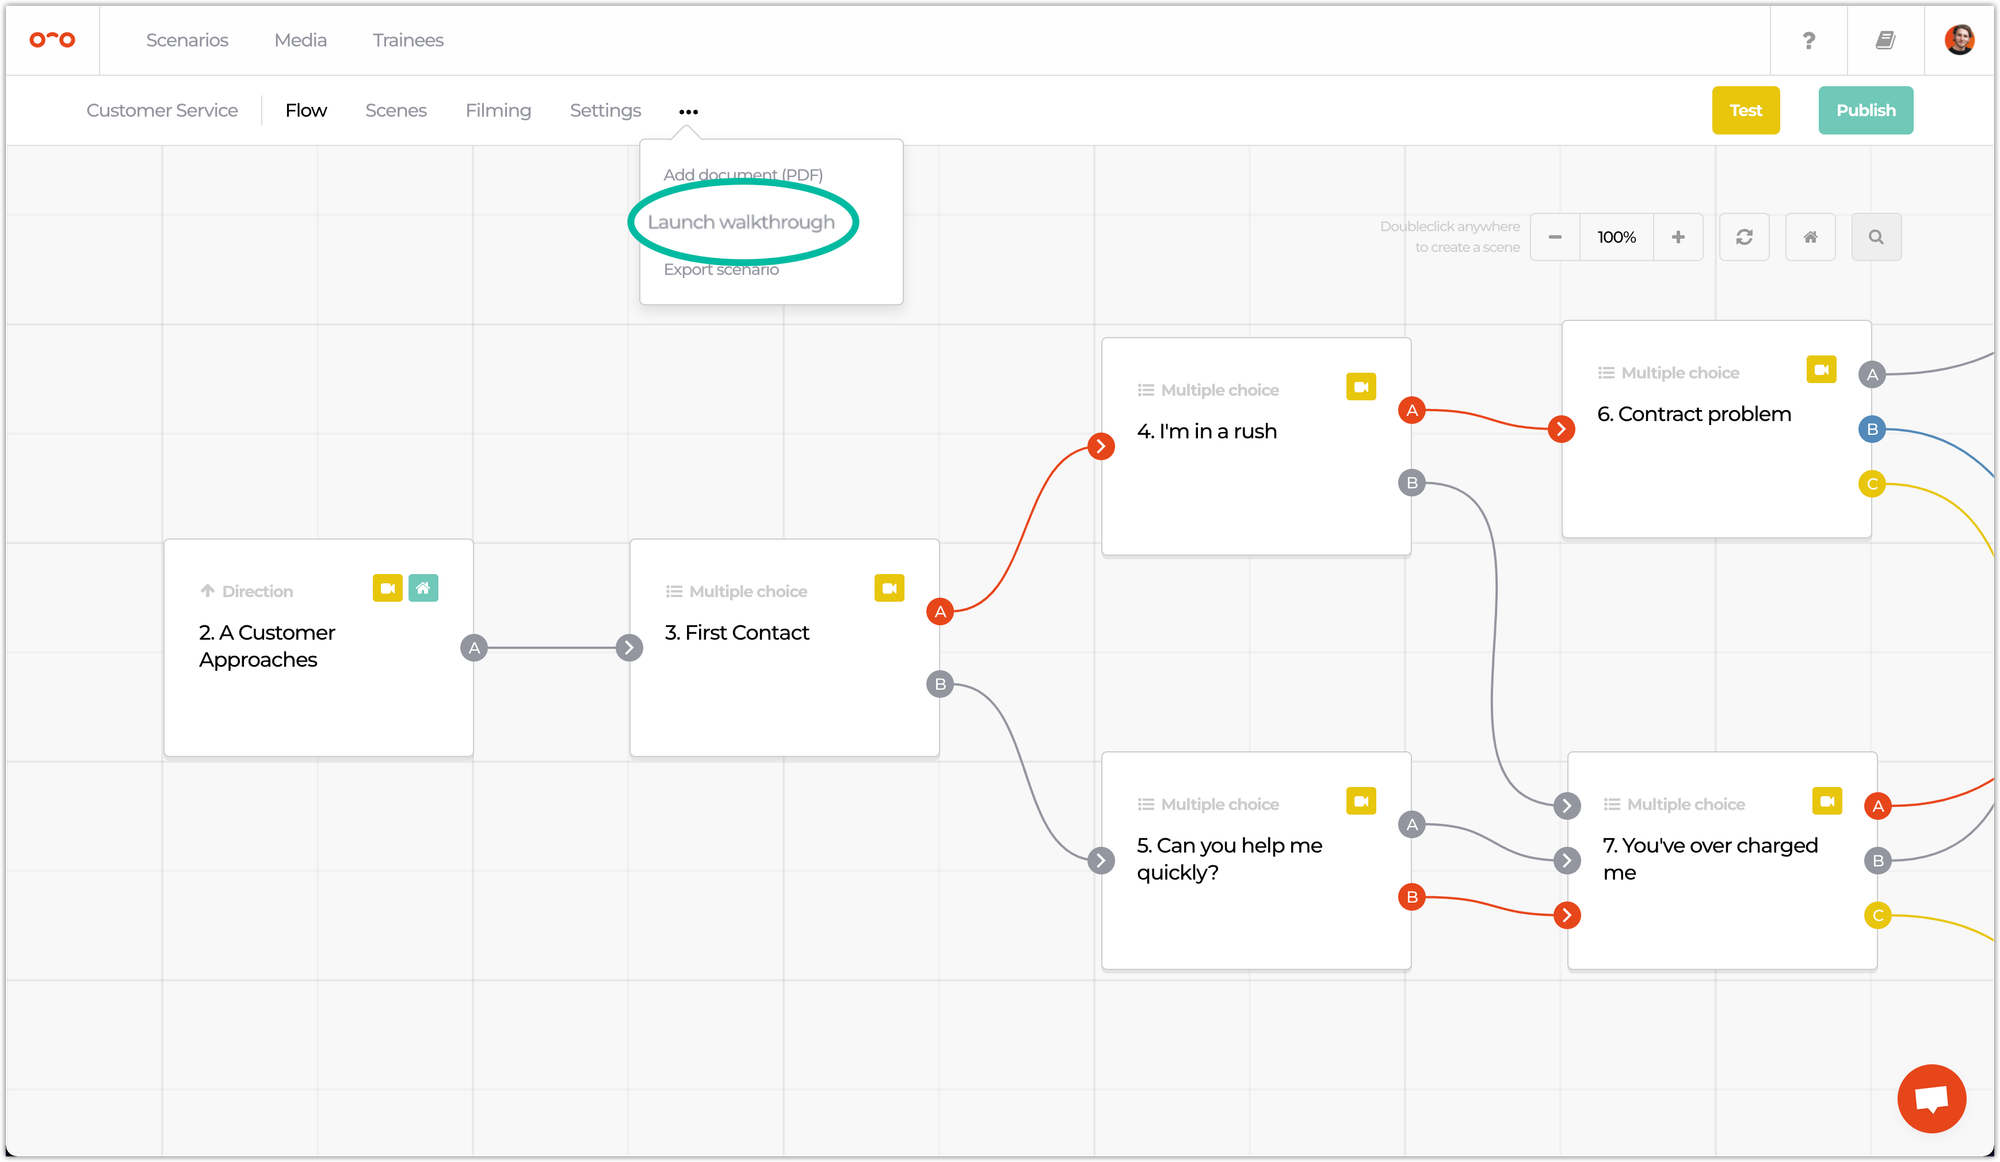
Walkthroughs can be used to quickly test your scenario without having to upload 360˚ videos. 😎 You can use this feature to test the scenario from the start or from a certain scene.
- In the 3-dots menu of a scenario, select Launch walkthrough 🏃🏻♂️ and test the scenario from the start.
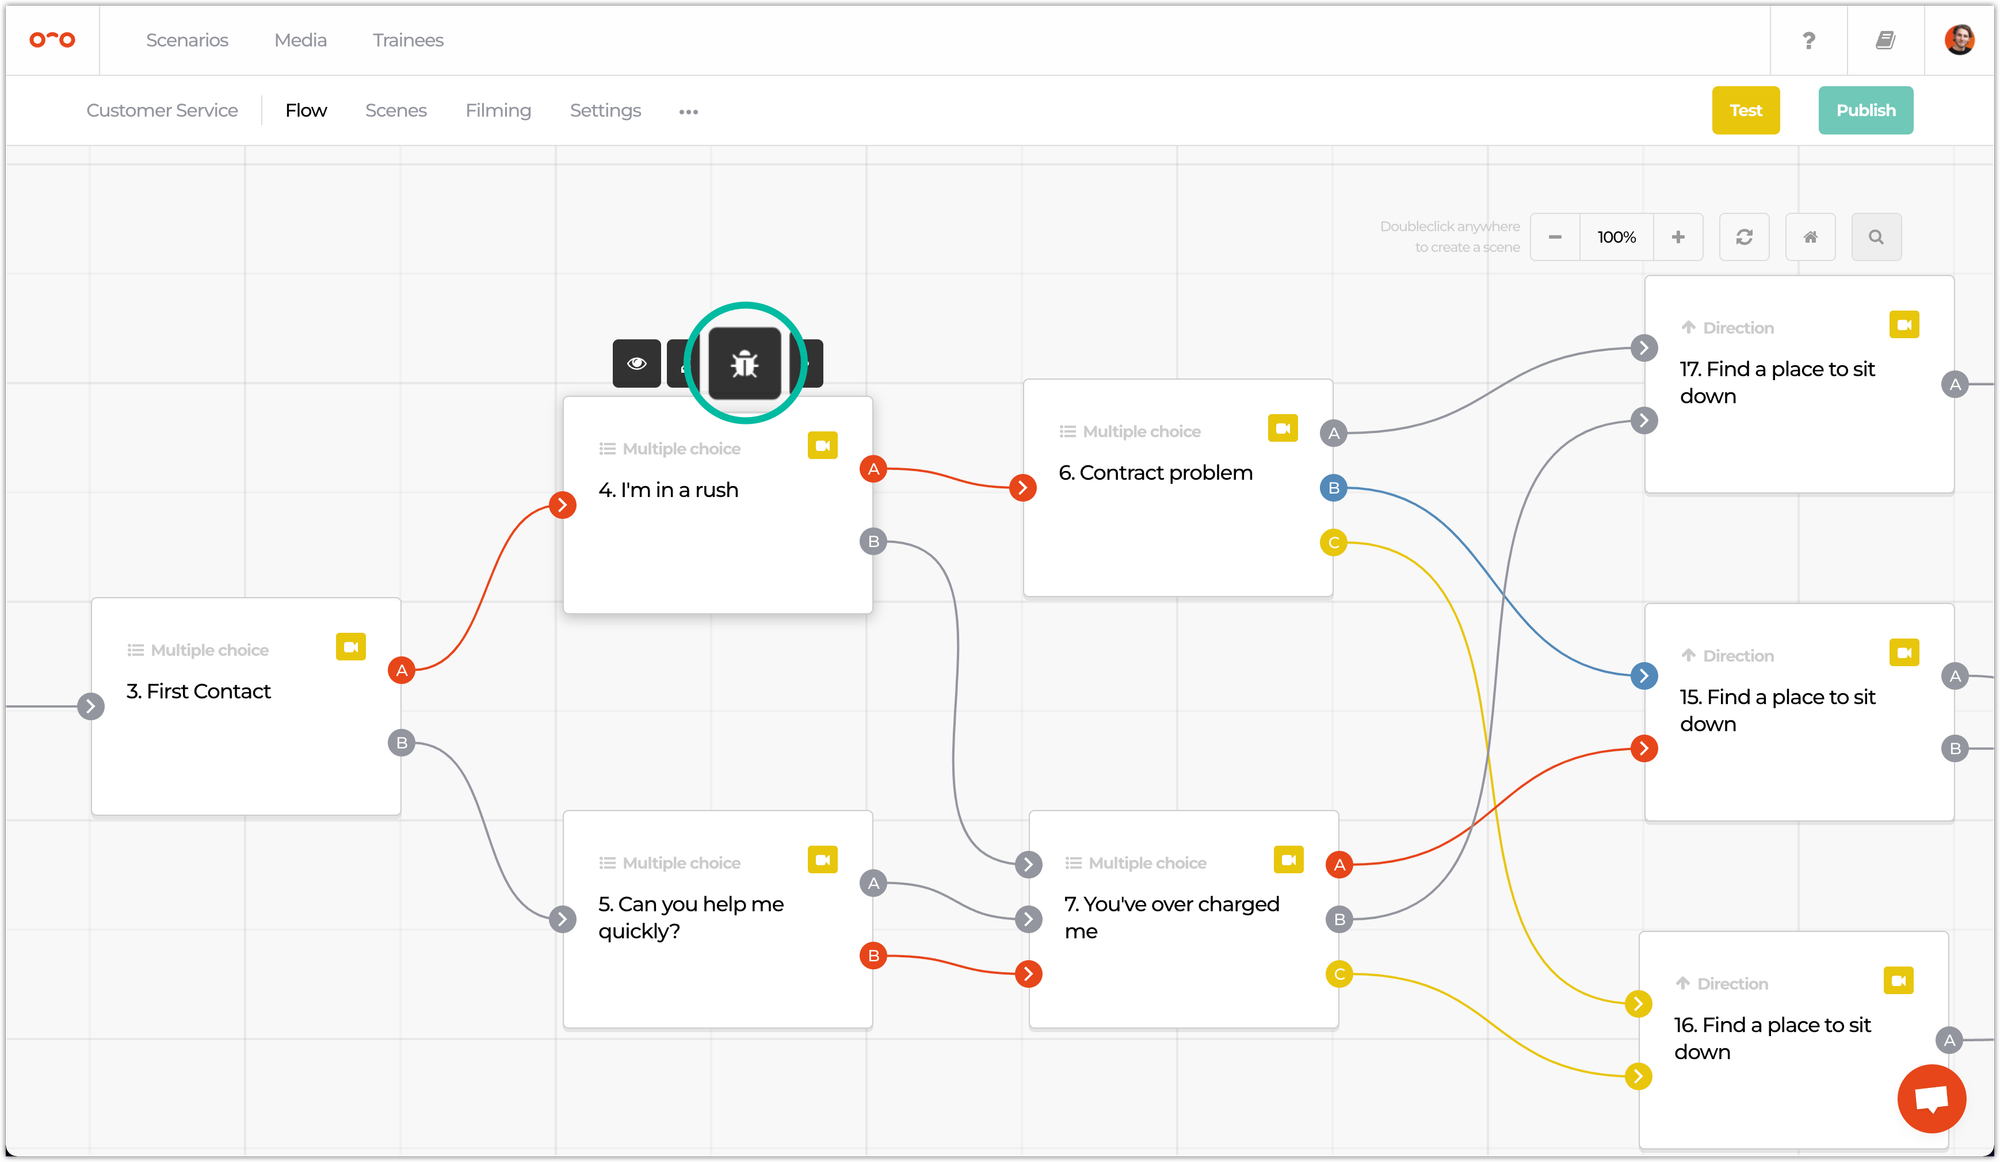
- Point your mouse cursor to a certain scene and click the bug icon 🐛 to test the current scenario starting from that specific scene.
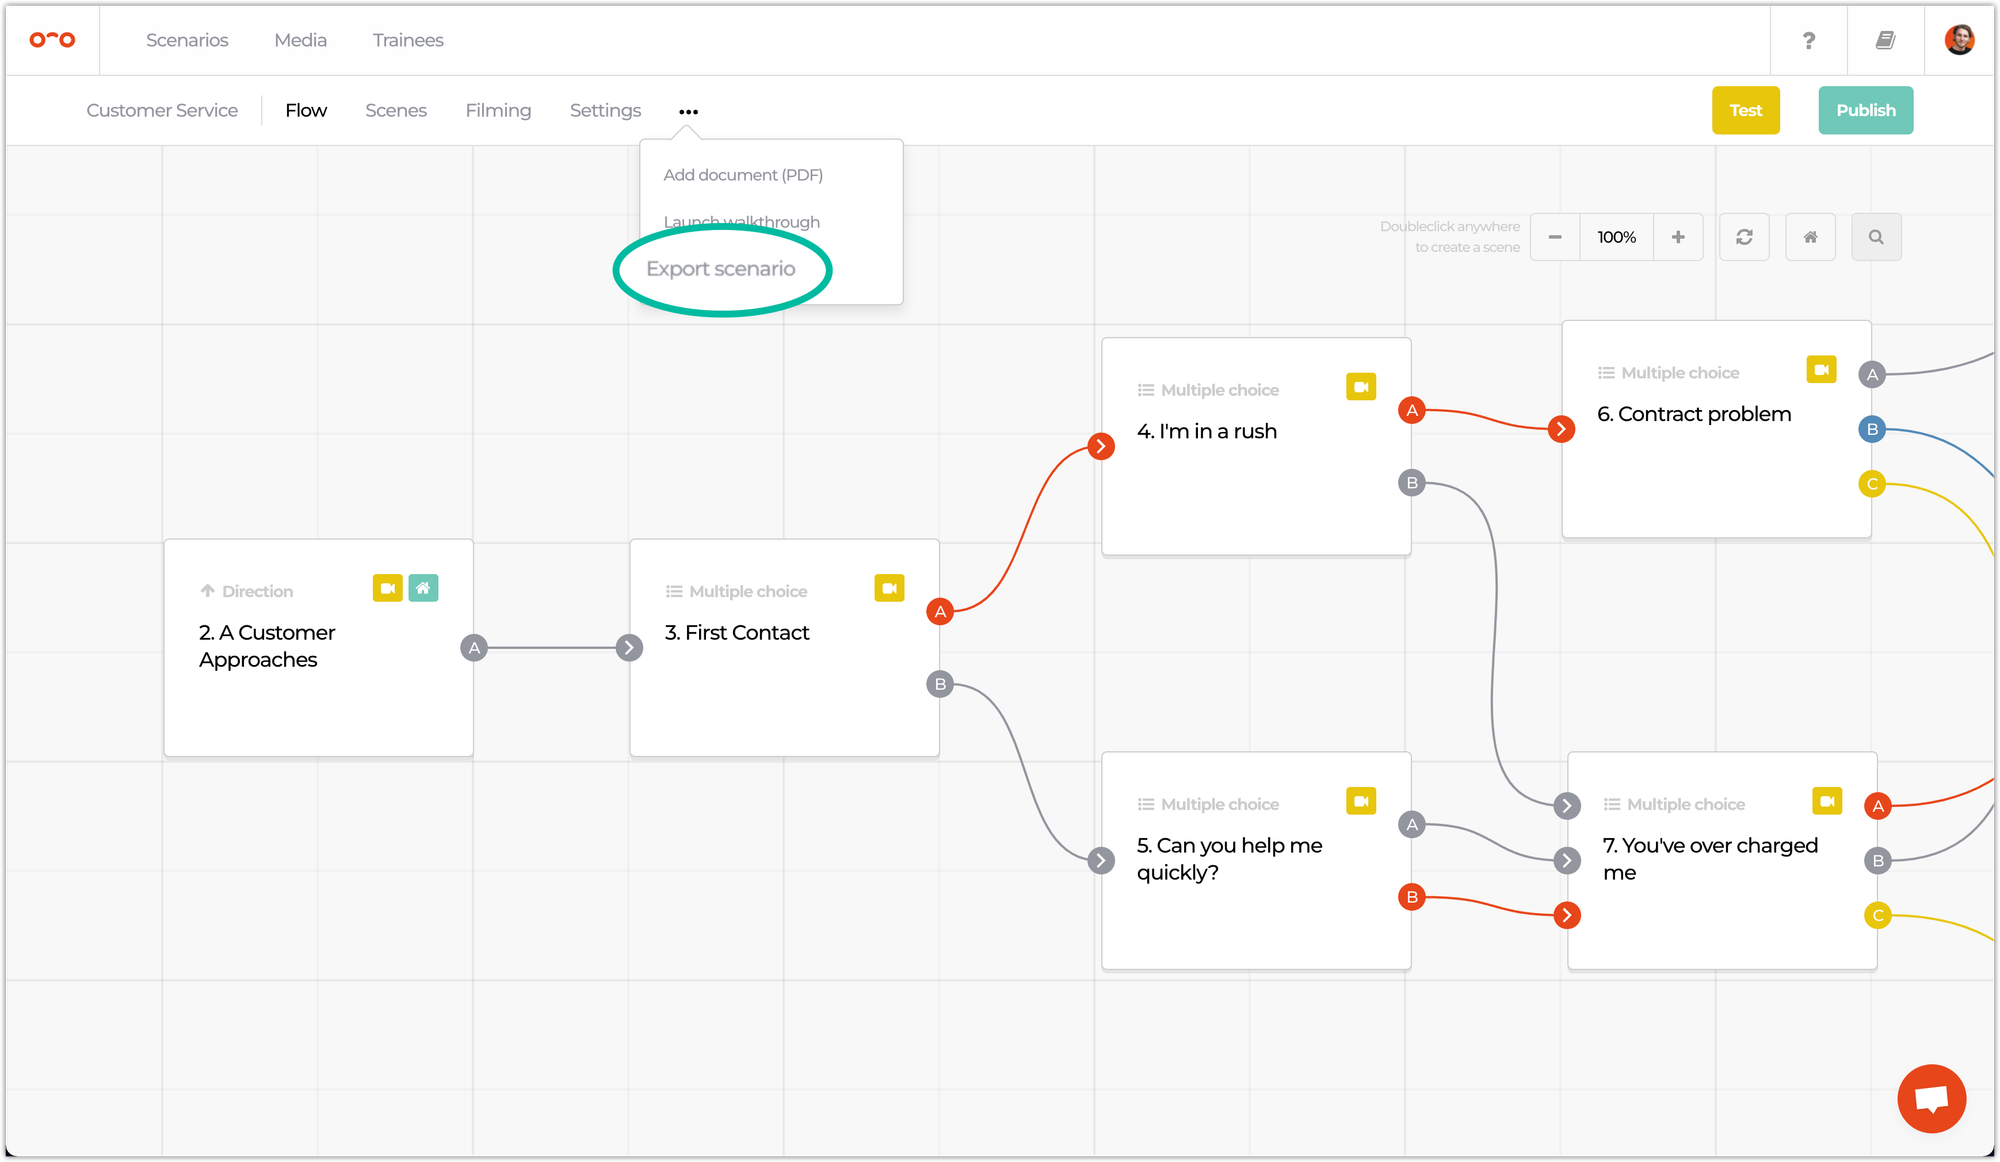
➡️ Export a scenario
A shotlist and a script of your scenario with all scenes included, can be useful on the day of filming. 🤓
The export can be printed and used during filming, in order to easily track what and where things need to be done. You can sort it by scene number or camera locations.
- In the 3-dots menu, click on Export scenario.
- Next, you can set the export settings to your preferences.
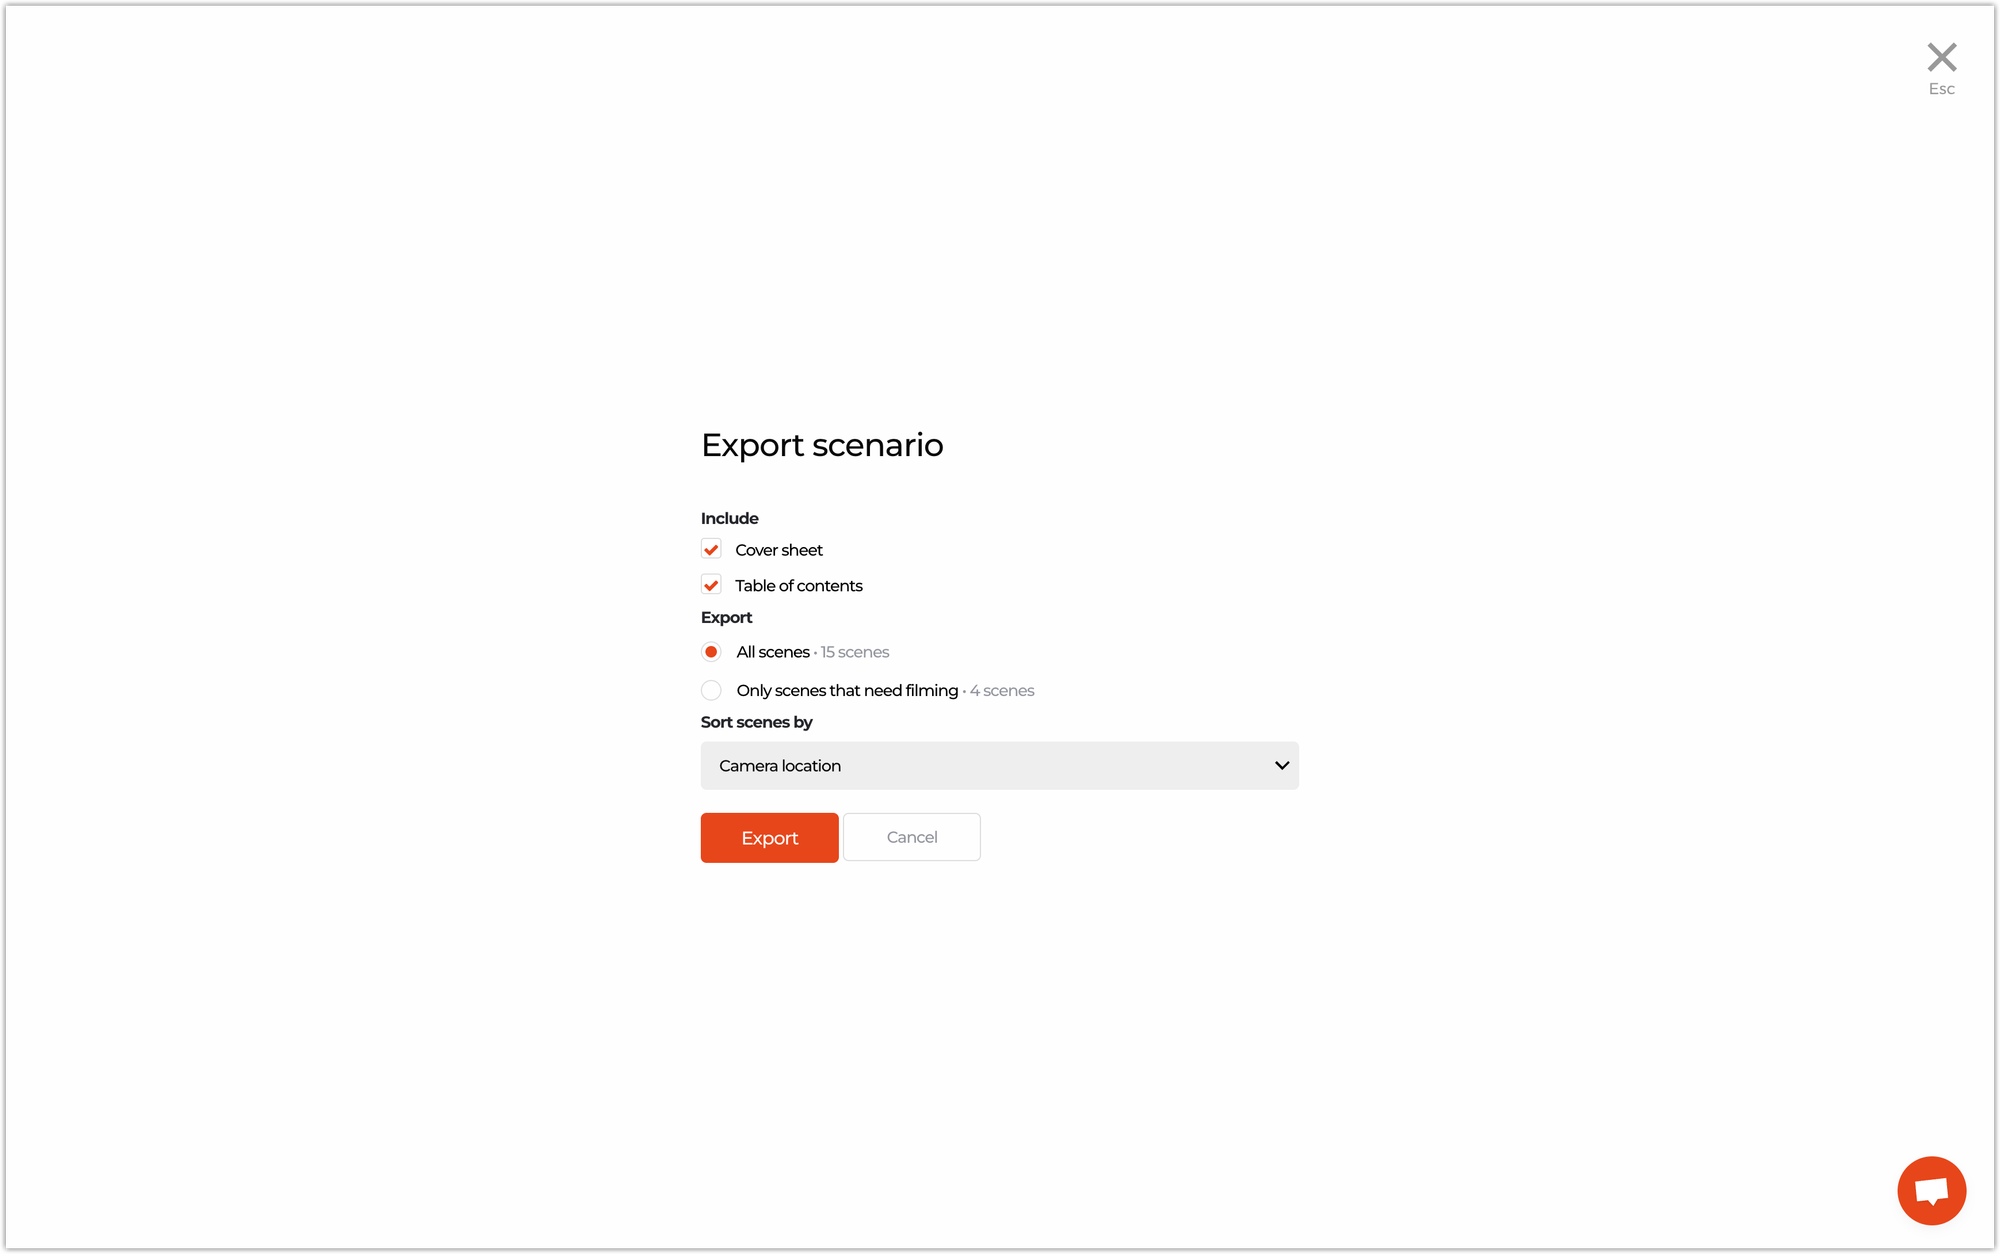
- After pressing Export, the checklist of the scenario will be opened in a new browser tab, which can be printed or saved to a PDF.
➡️ Upload video
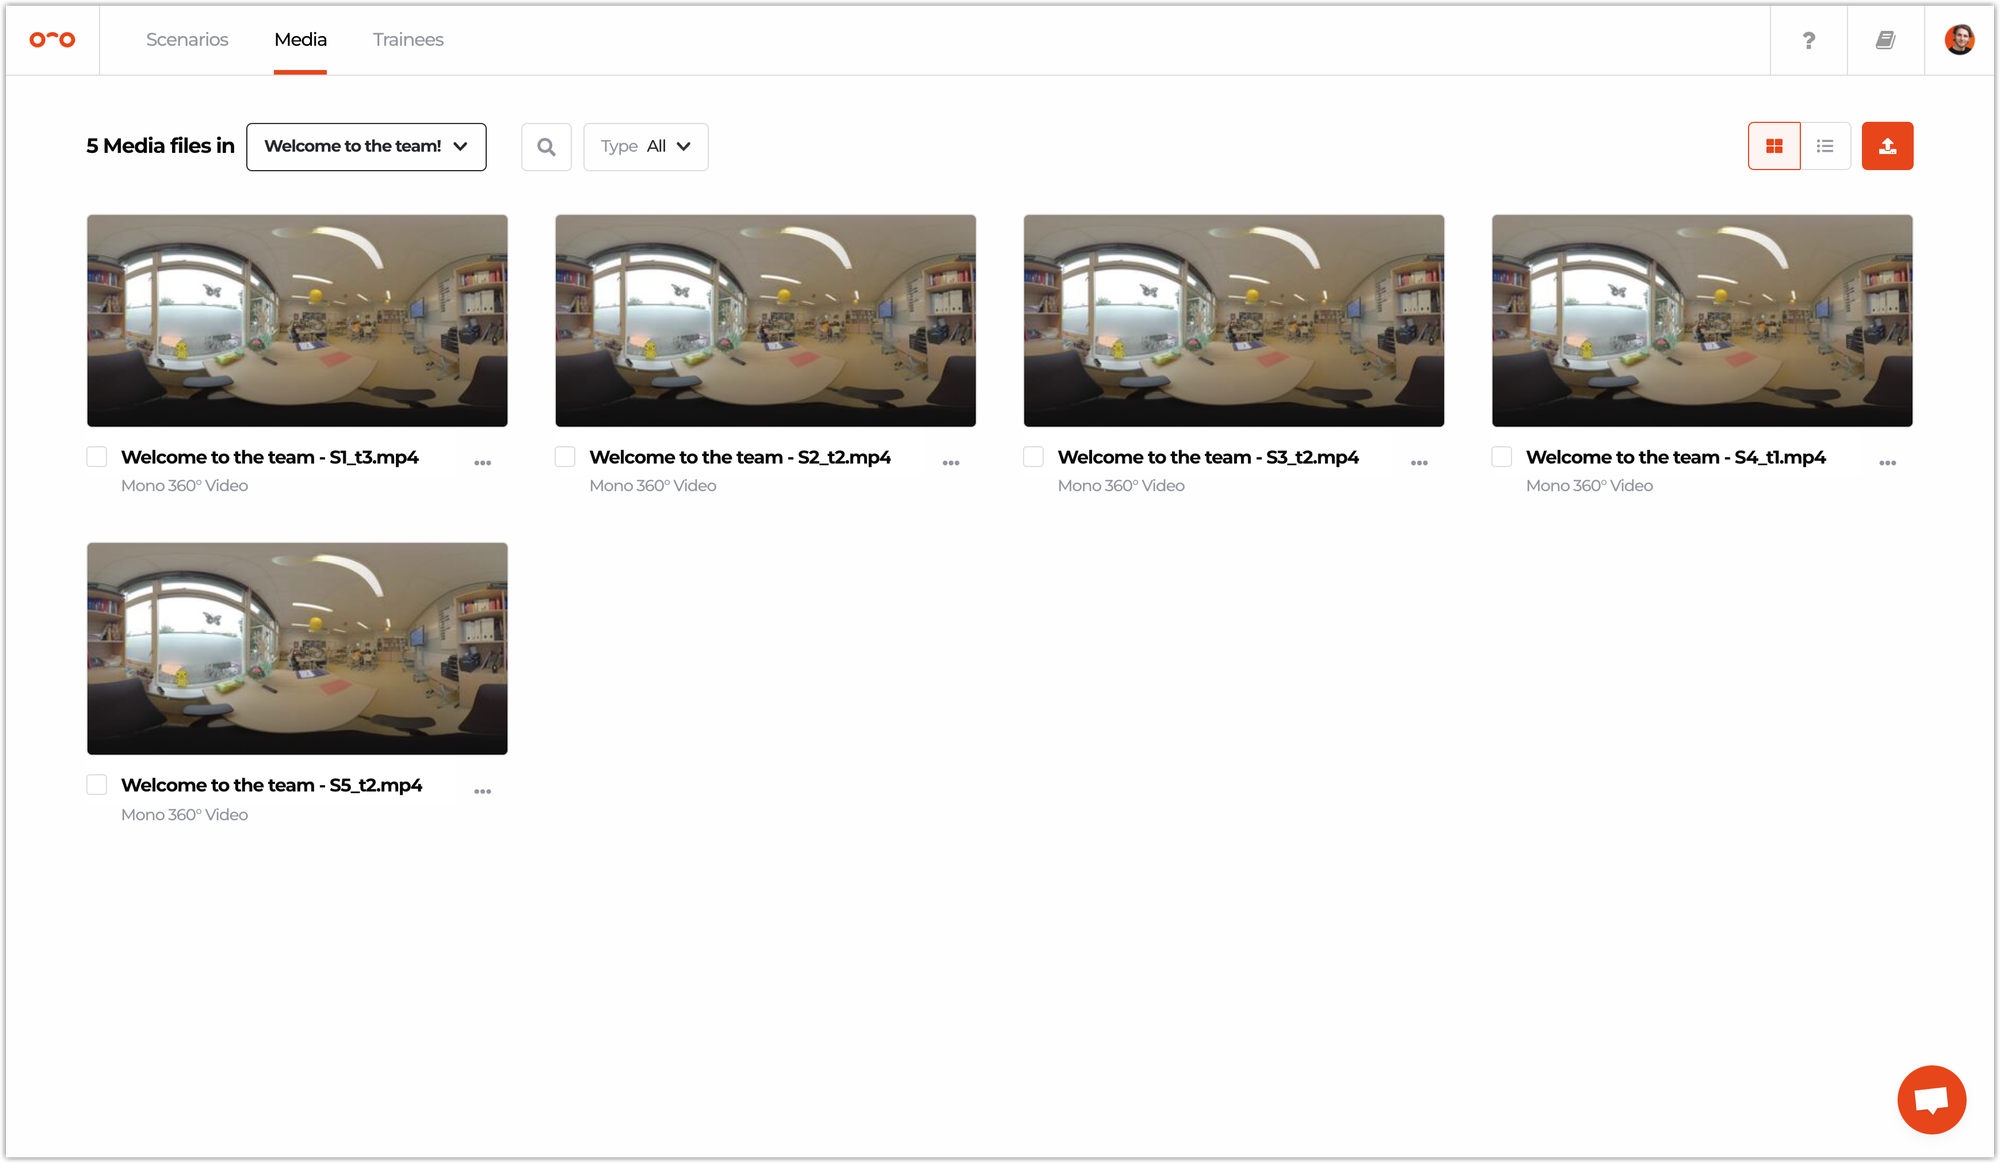
- Navigate to the Media tab and select the scenario you want to include videos for. Either drag and drop the videos on the page or click on the red Upload media icon, where you can select one or more video files.
⚠️ Don’t leave the page during uploading as this will cancel the process.
- After uploading, it will take a few minutes to transcode the videos into different formats. When the transcoding process is done, video thumbnails are shown.

We transcode your videos into several formats optimized for playback on mobile, tablets and VR headsets. Please read Transcode videos if you need to know more about our process. 🤓
➡️ Link videos to scenes
- On the media page, select a video you’ve uploaded.
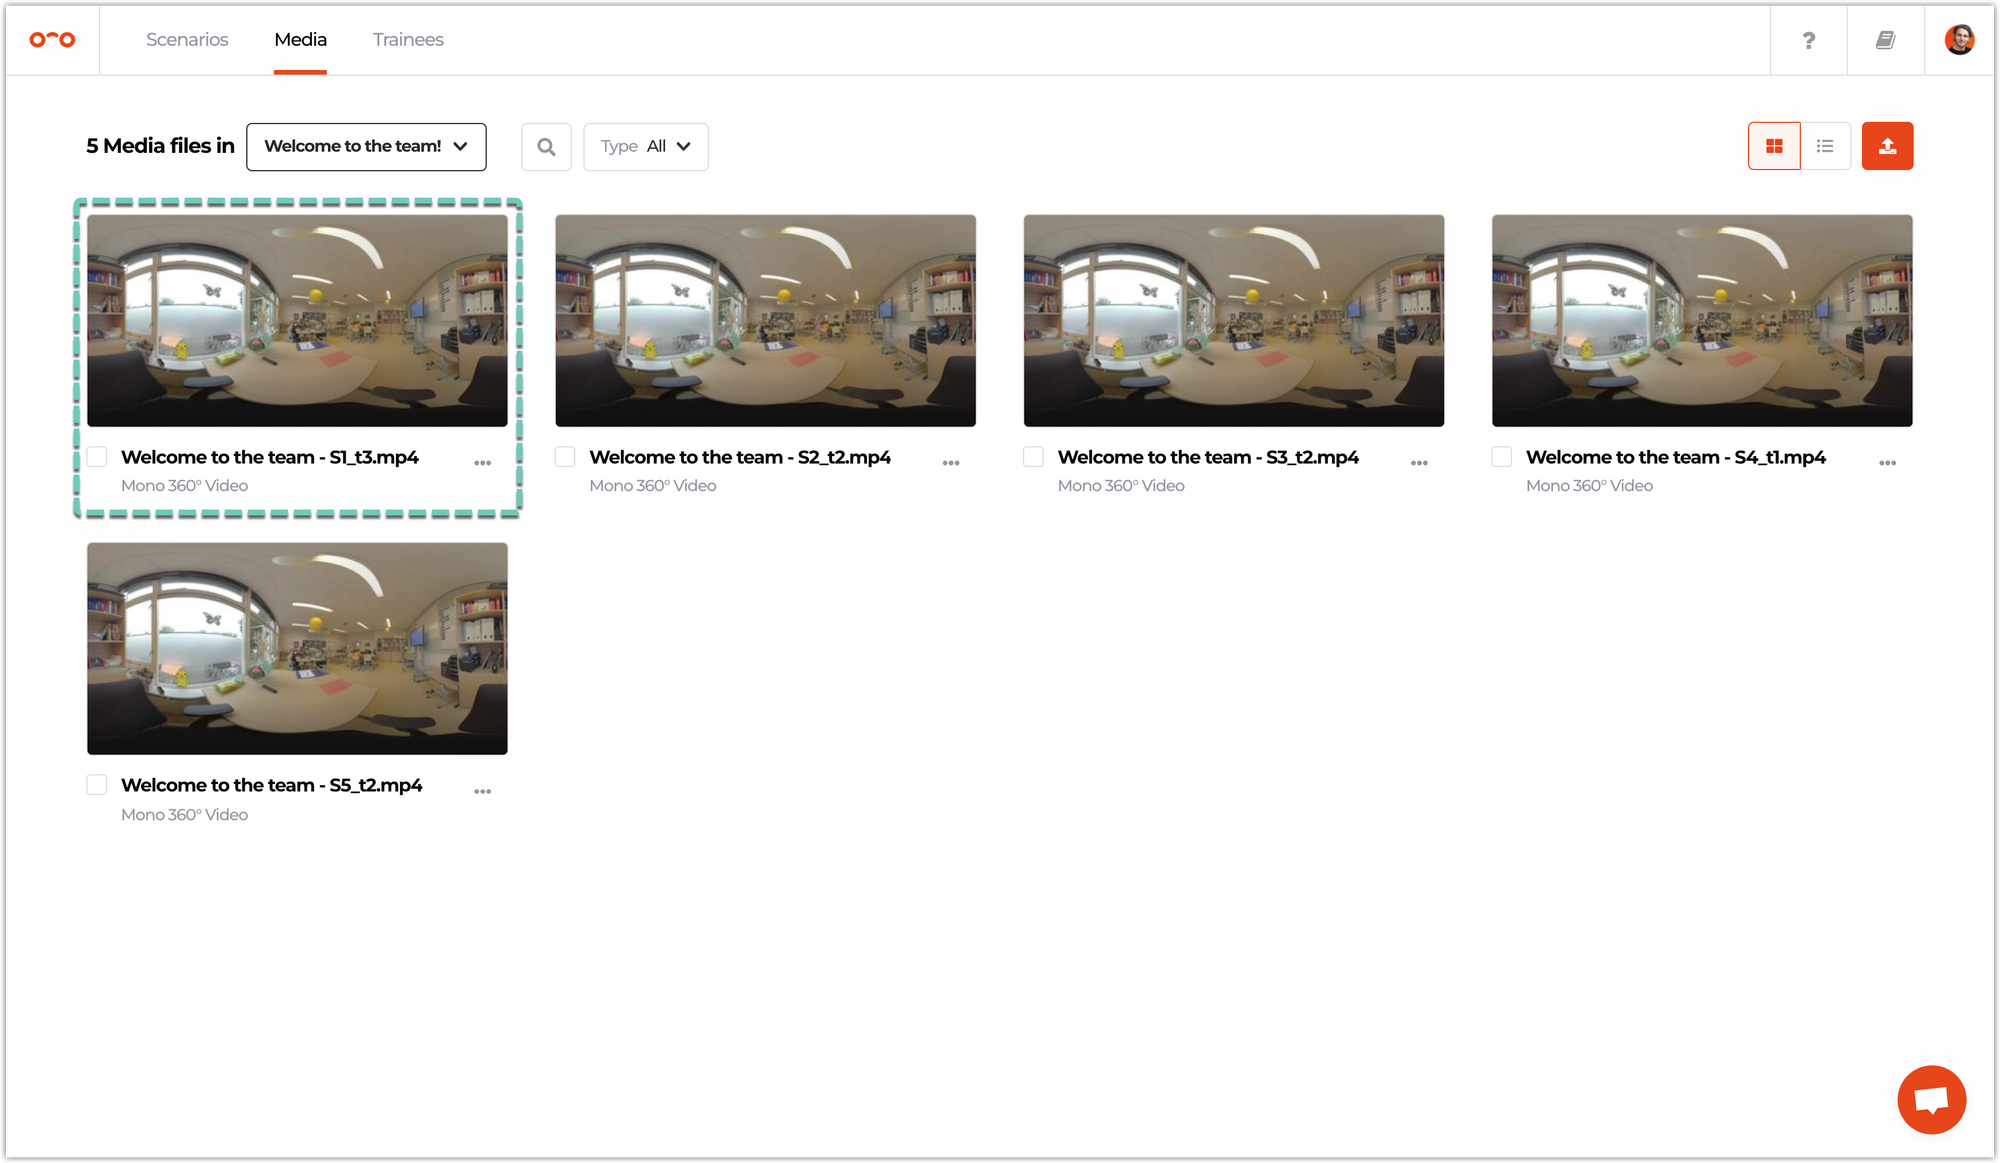
- After selecting the video, select the scene you want to link it to.
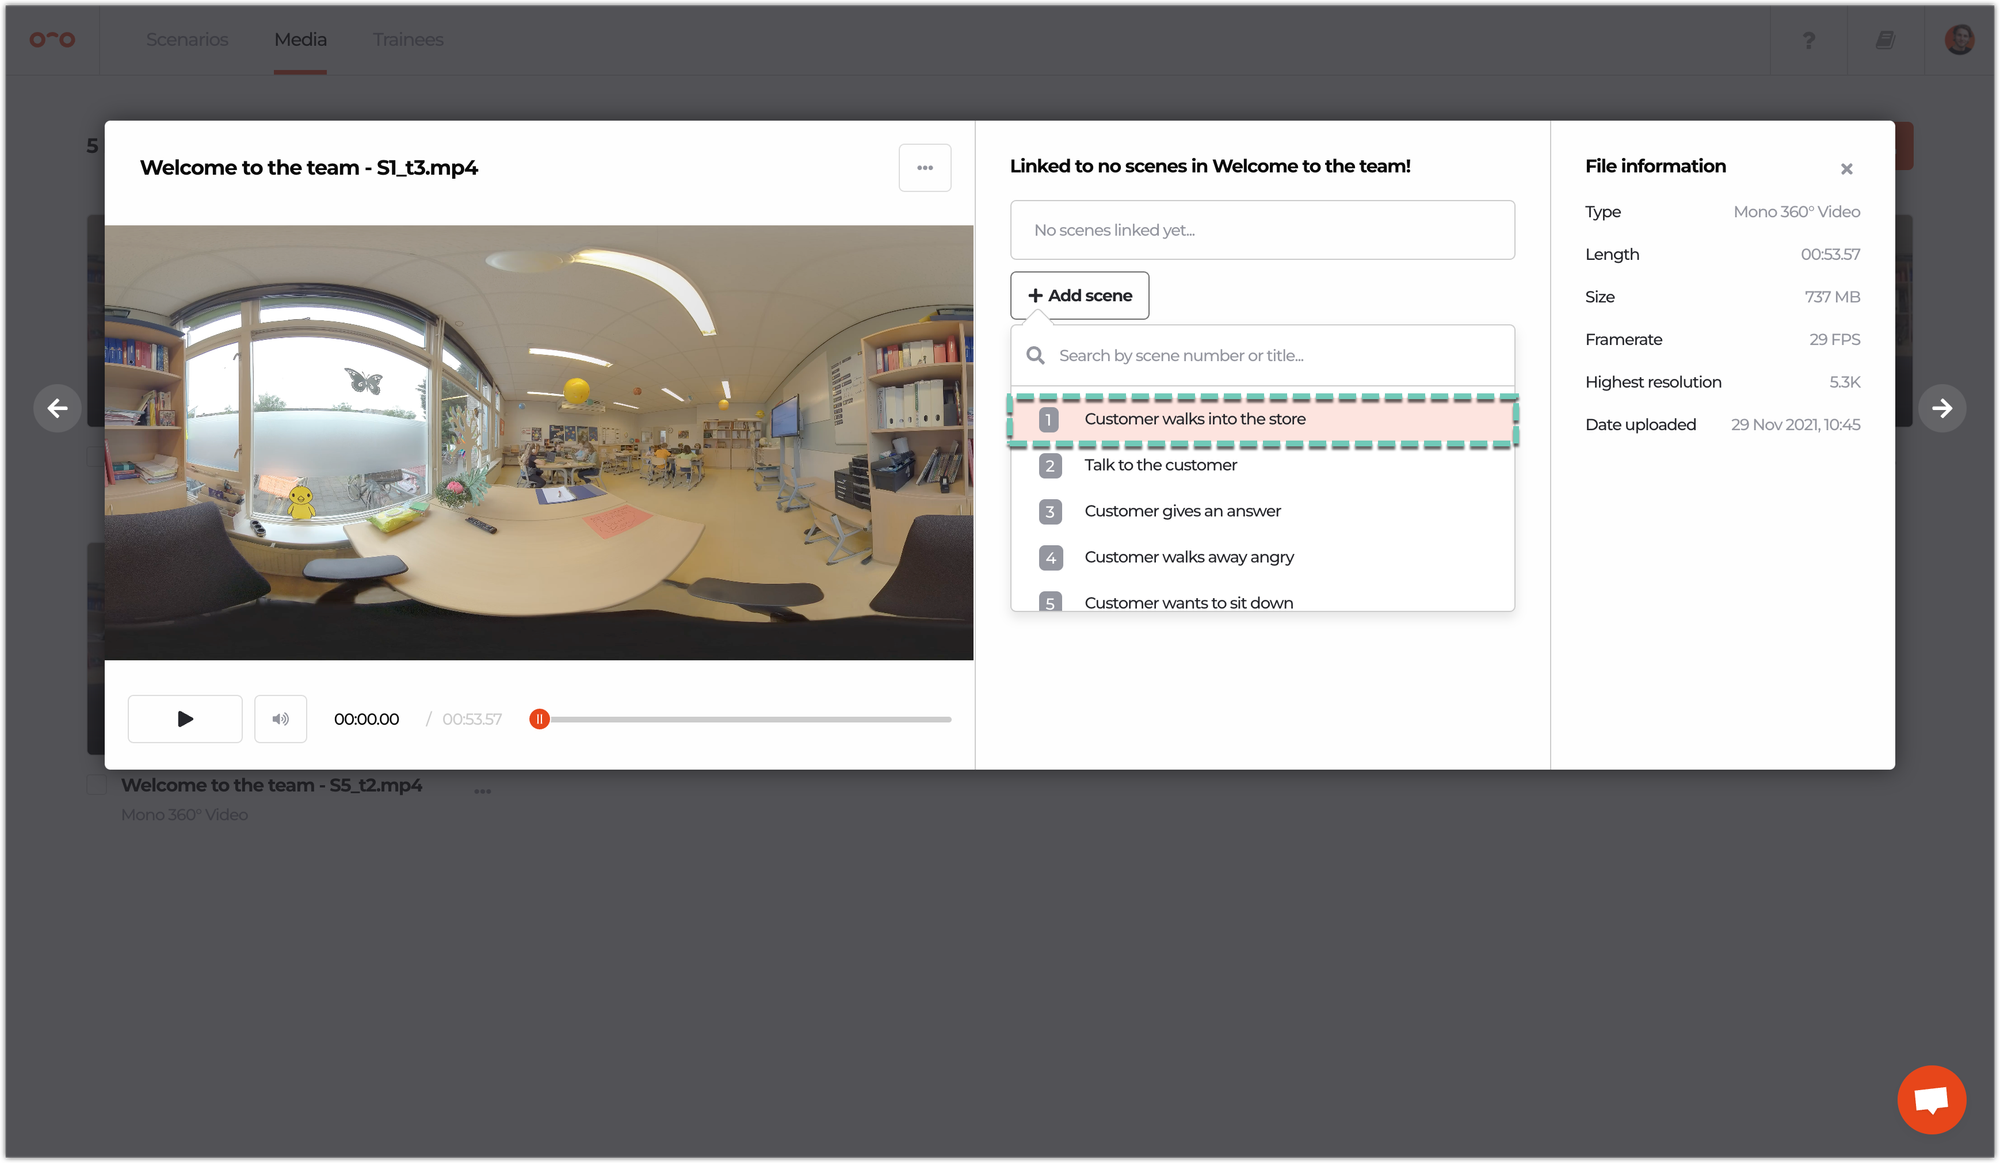
- Use the video editor to position interactive elements, set video loops, determine when interactive elements should fade in and more!
➡️ Test after filming
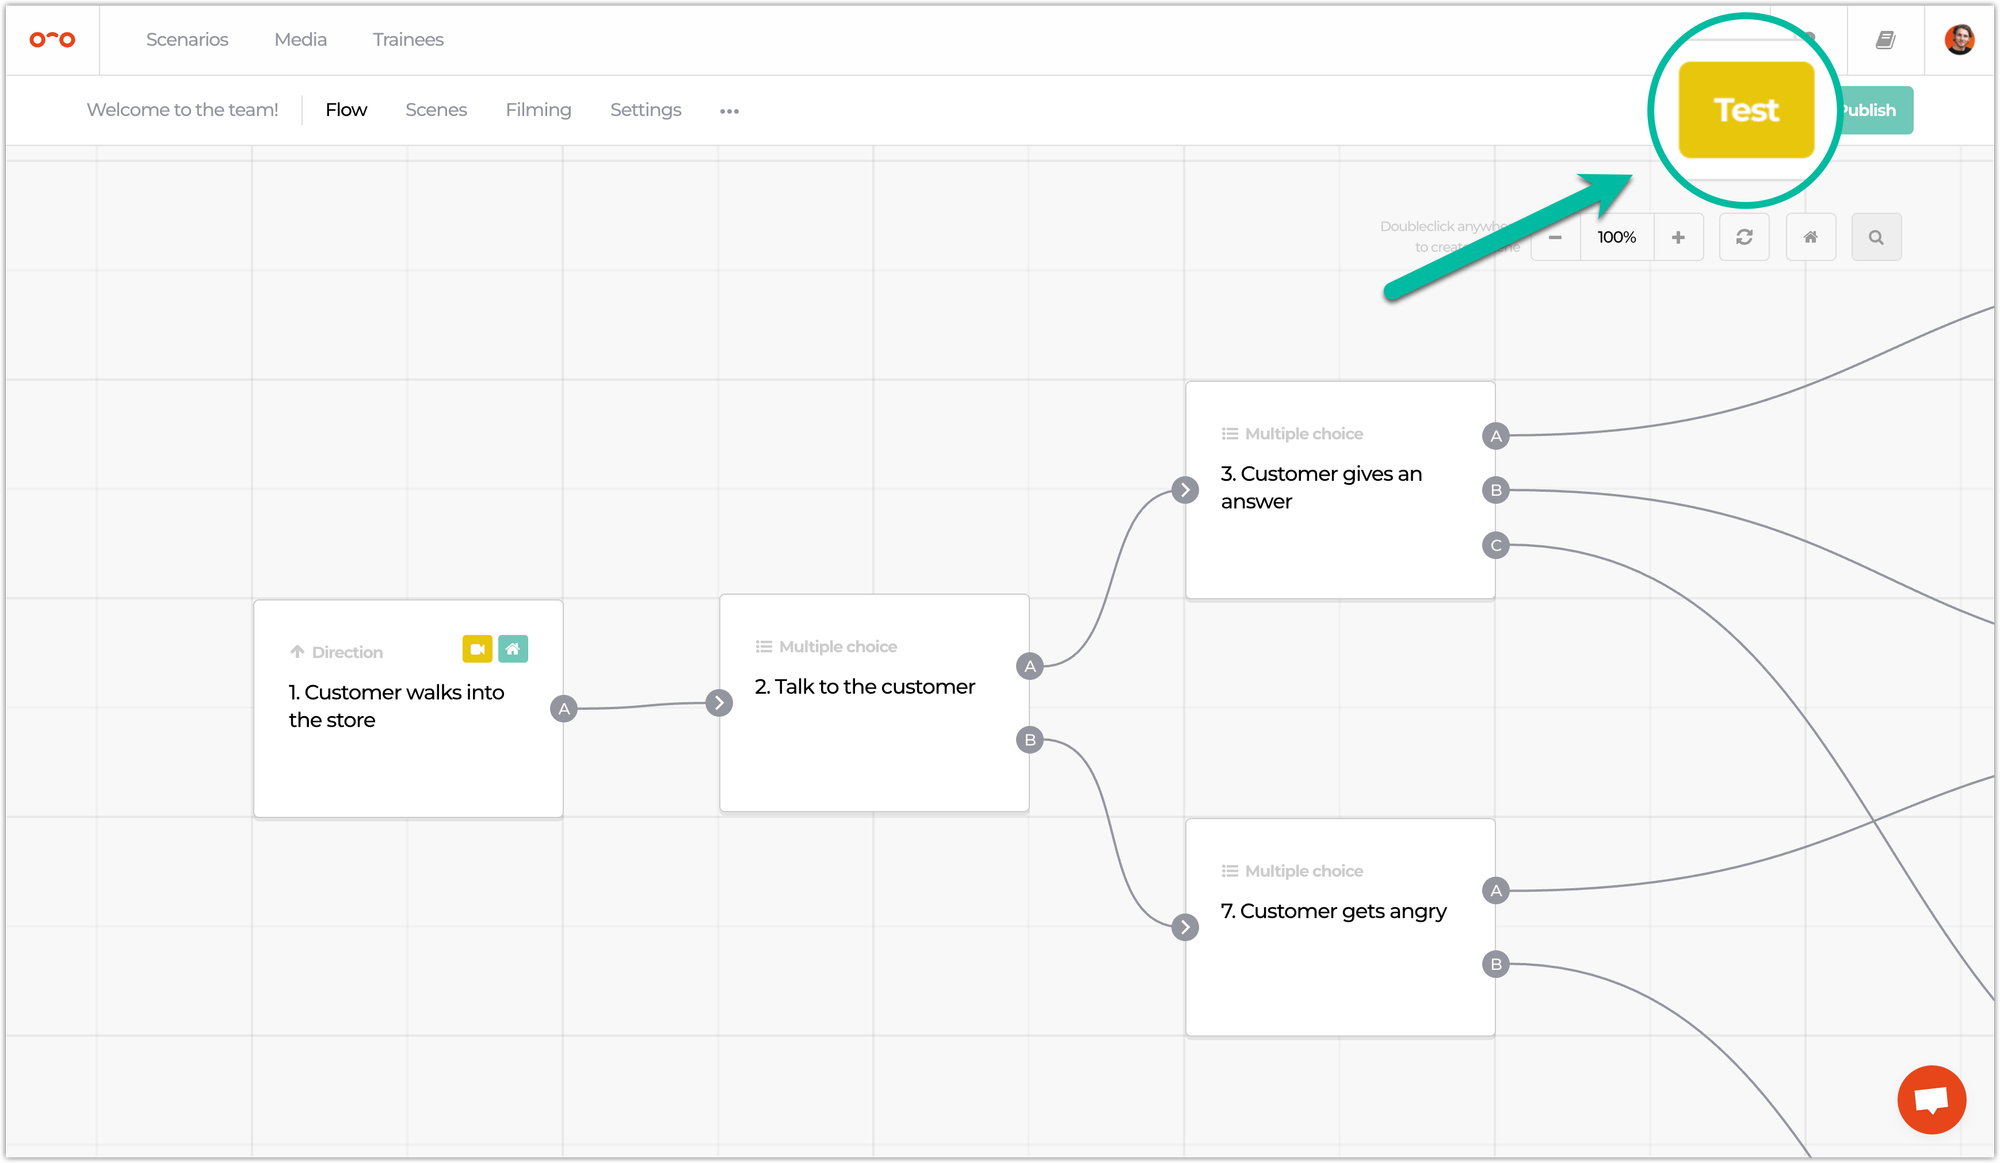
- Open your scenario in Warp Studio.
- Click Test in the top right corner.
- Select and invite the users you want to test the scenario with.
⚠️ All user roles are allowed to test, except trainees.
- After the scenario is prepared for testing, each invited person receives an invitation mail. Once they open the Warp VR app and click the Test tab, all scenarios that can be tested, are available in an overview. 🧐
The testing controls panel can be easily accessed by clicking a button in our apps for mobile or by looking down in VR.
🍿 Publish a scenario
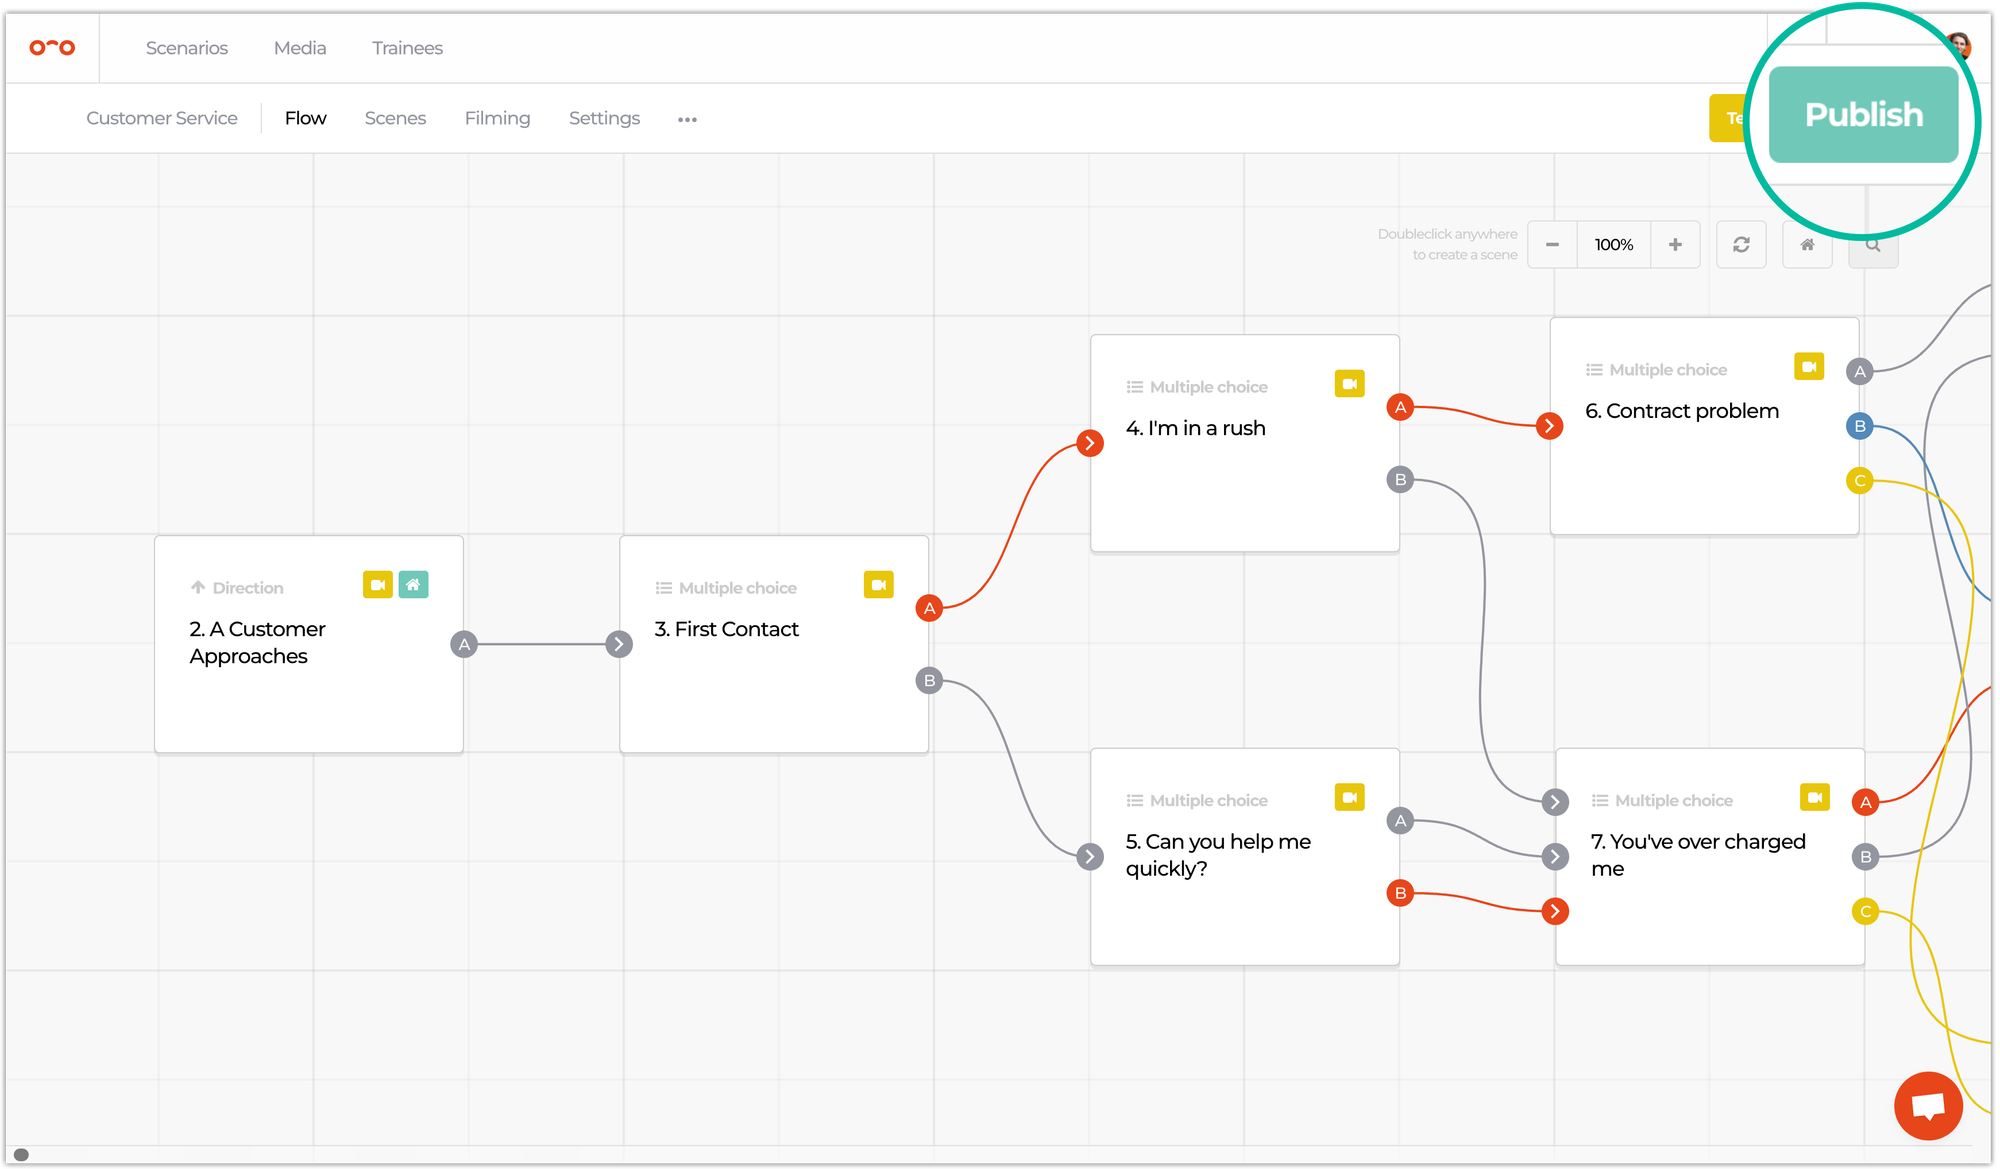
After testing the scenario and making sure all is prepared, you can click the green Publish button located in the top right of the screen.
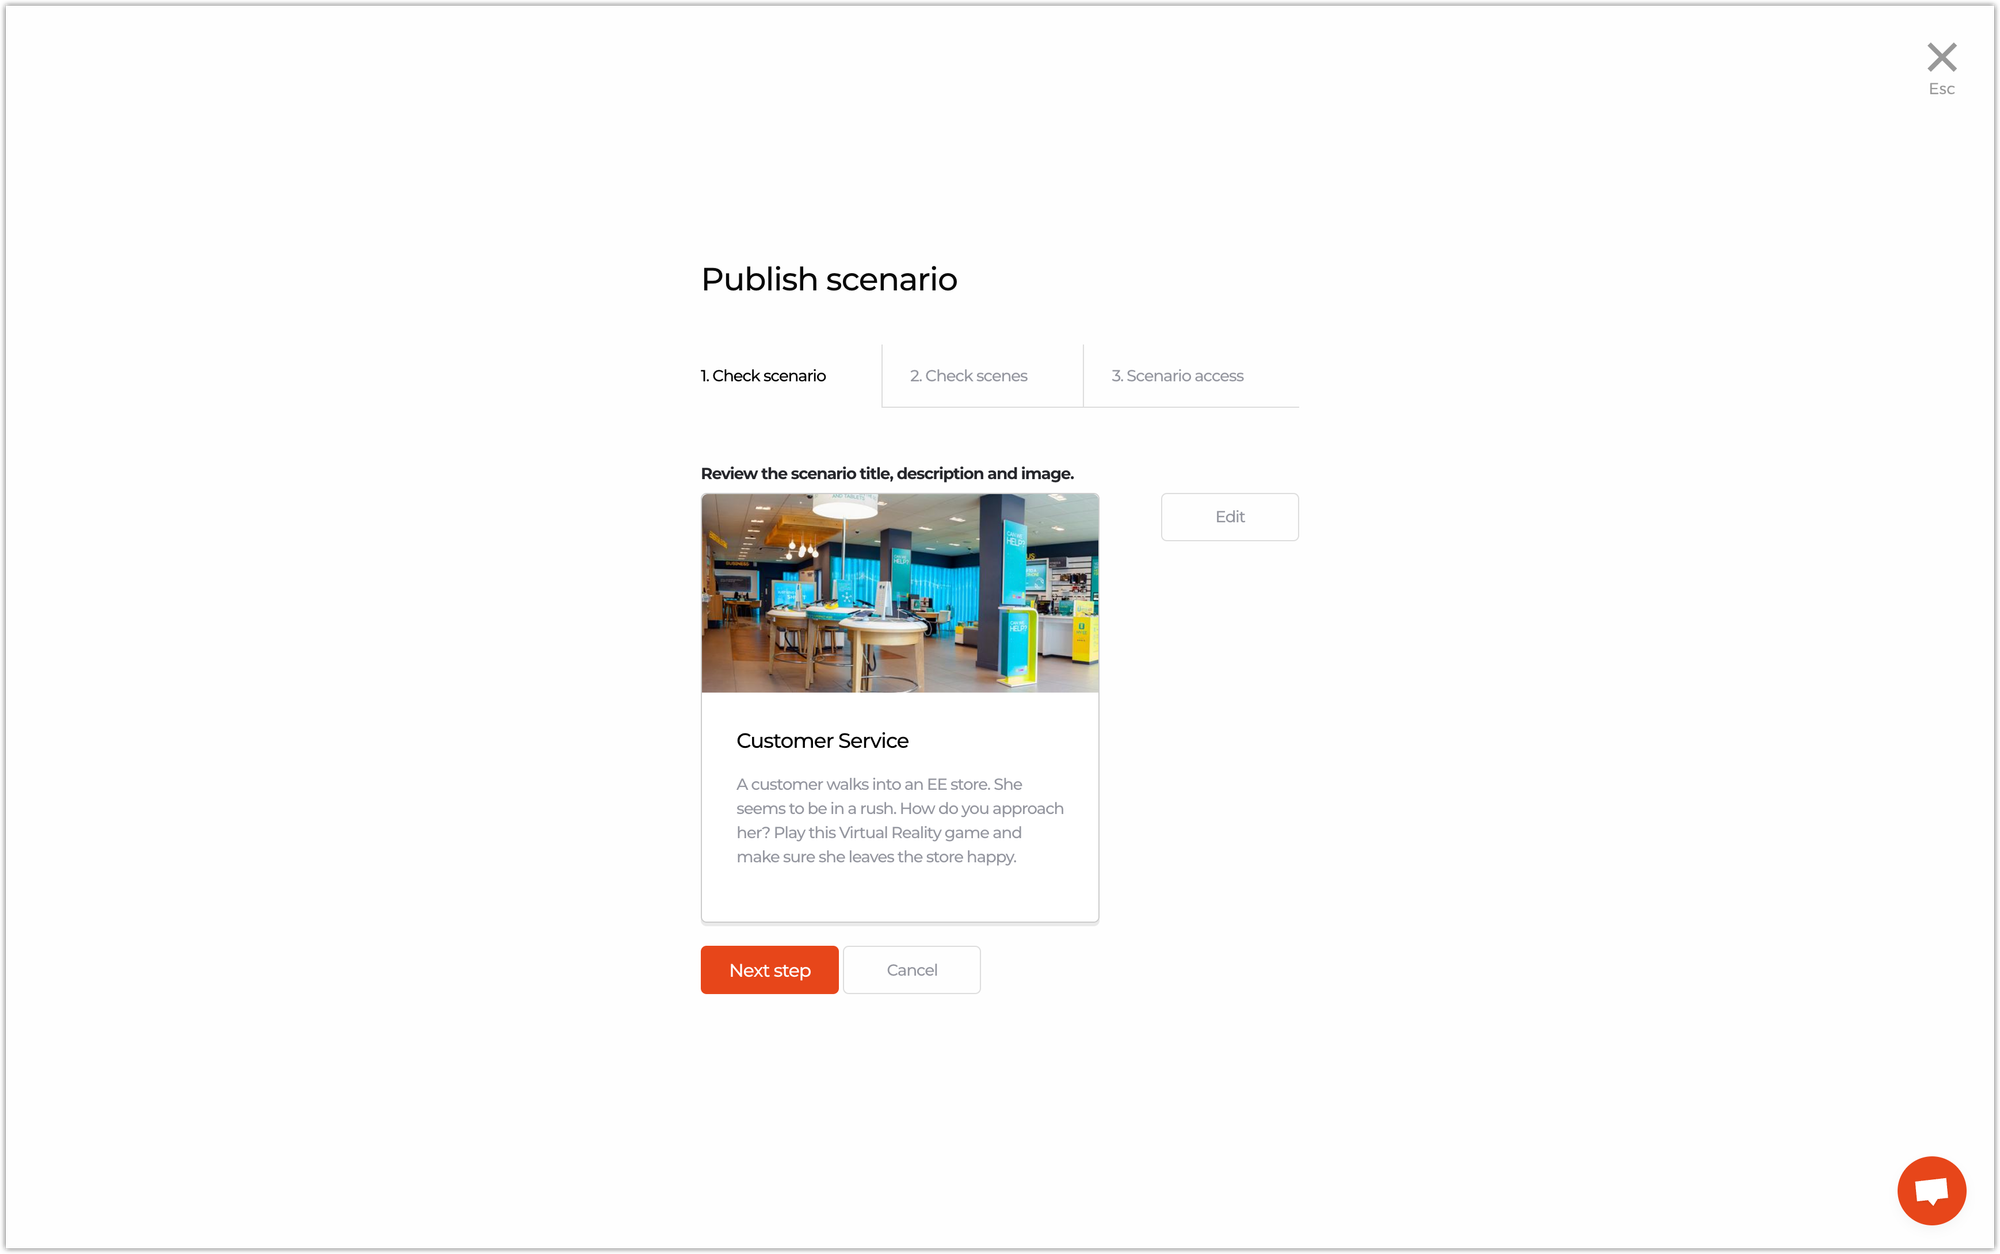
The publishing process consists of three steps:
- Check scenario title, description and image
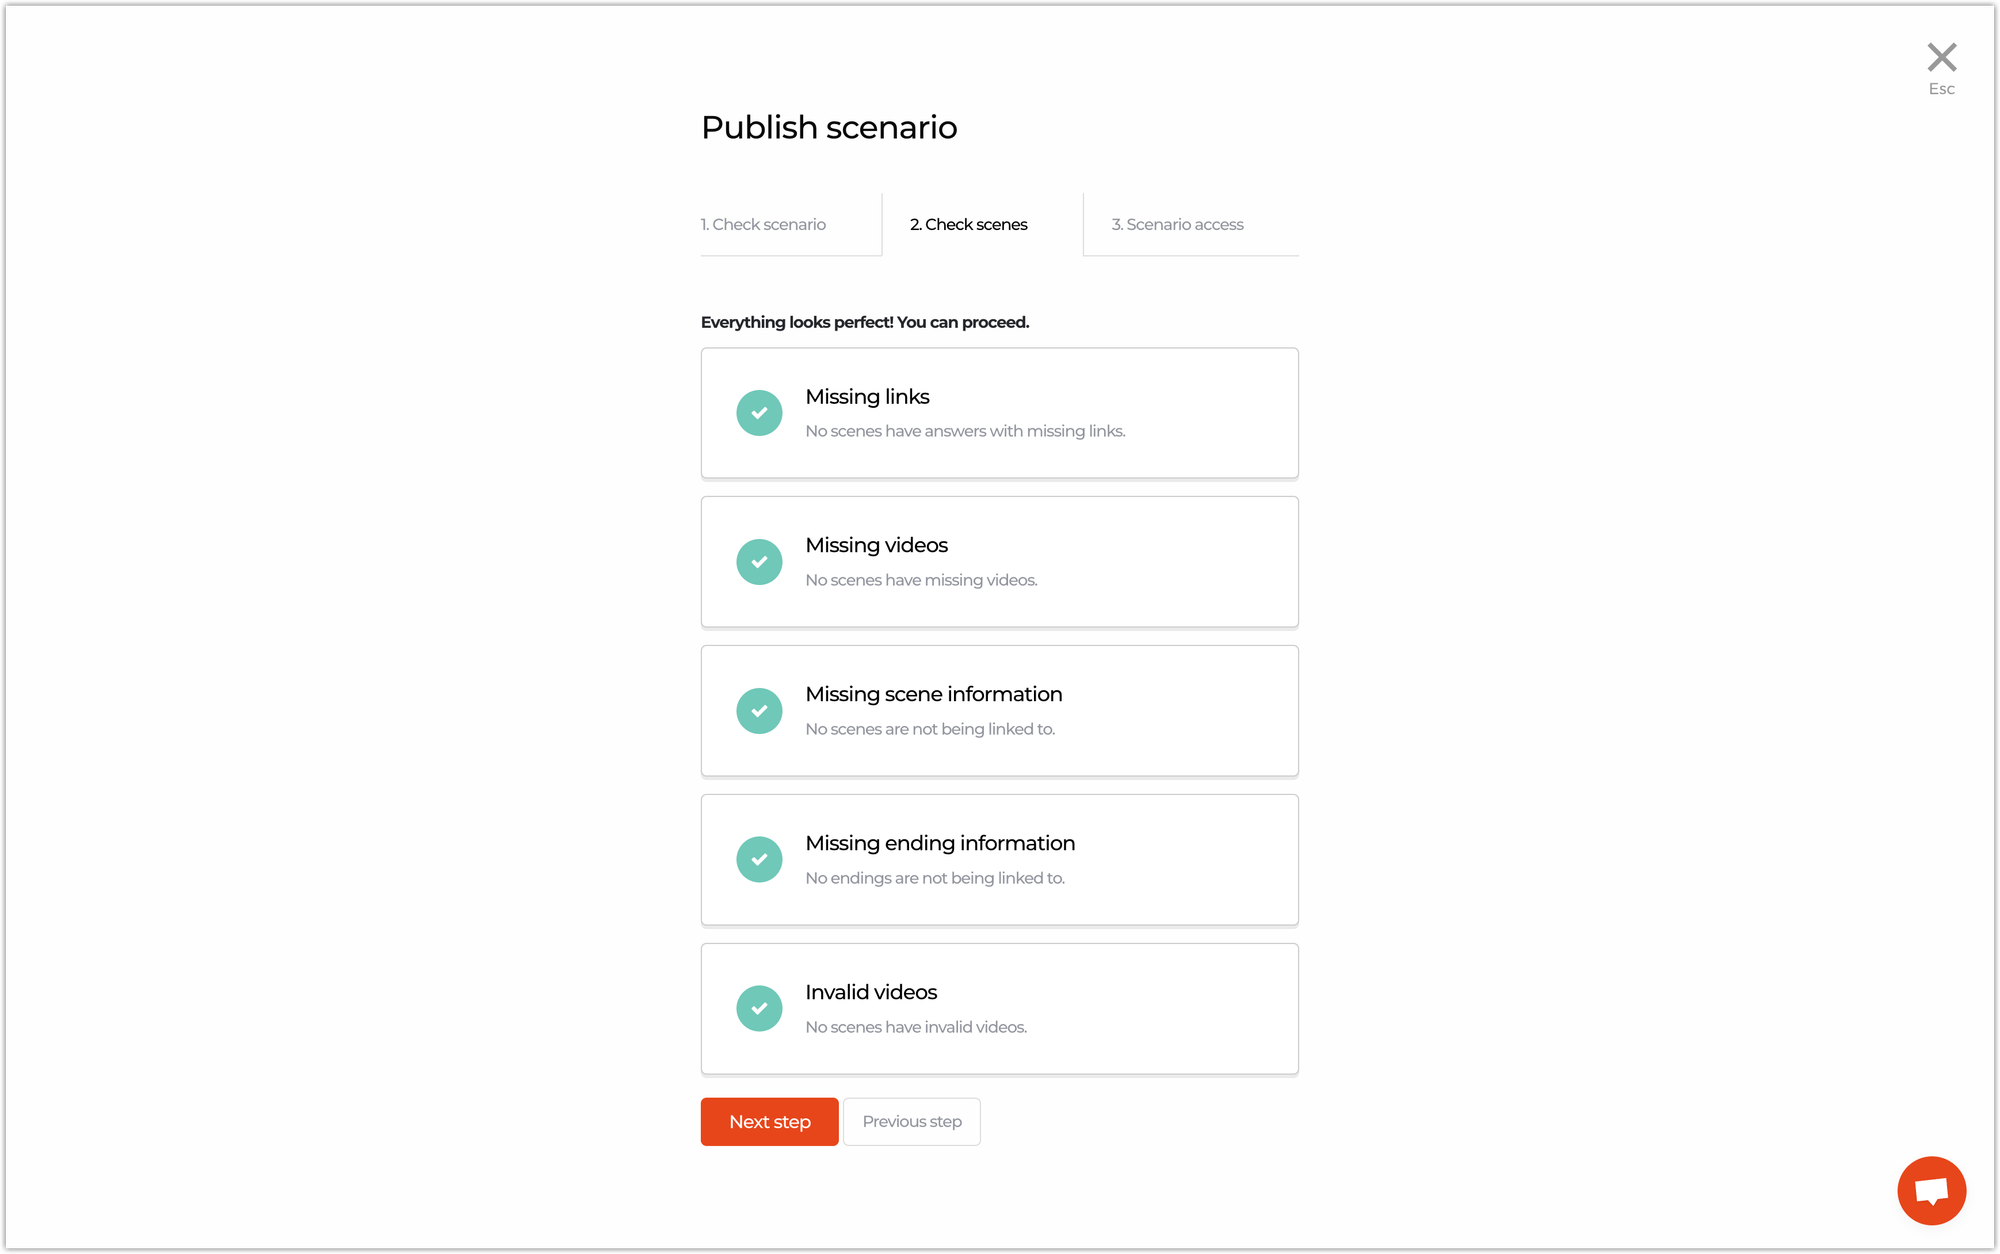
- Check the scenes for missing: links, videos, scene information, etc.
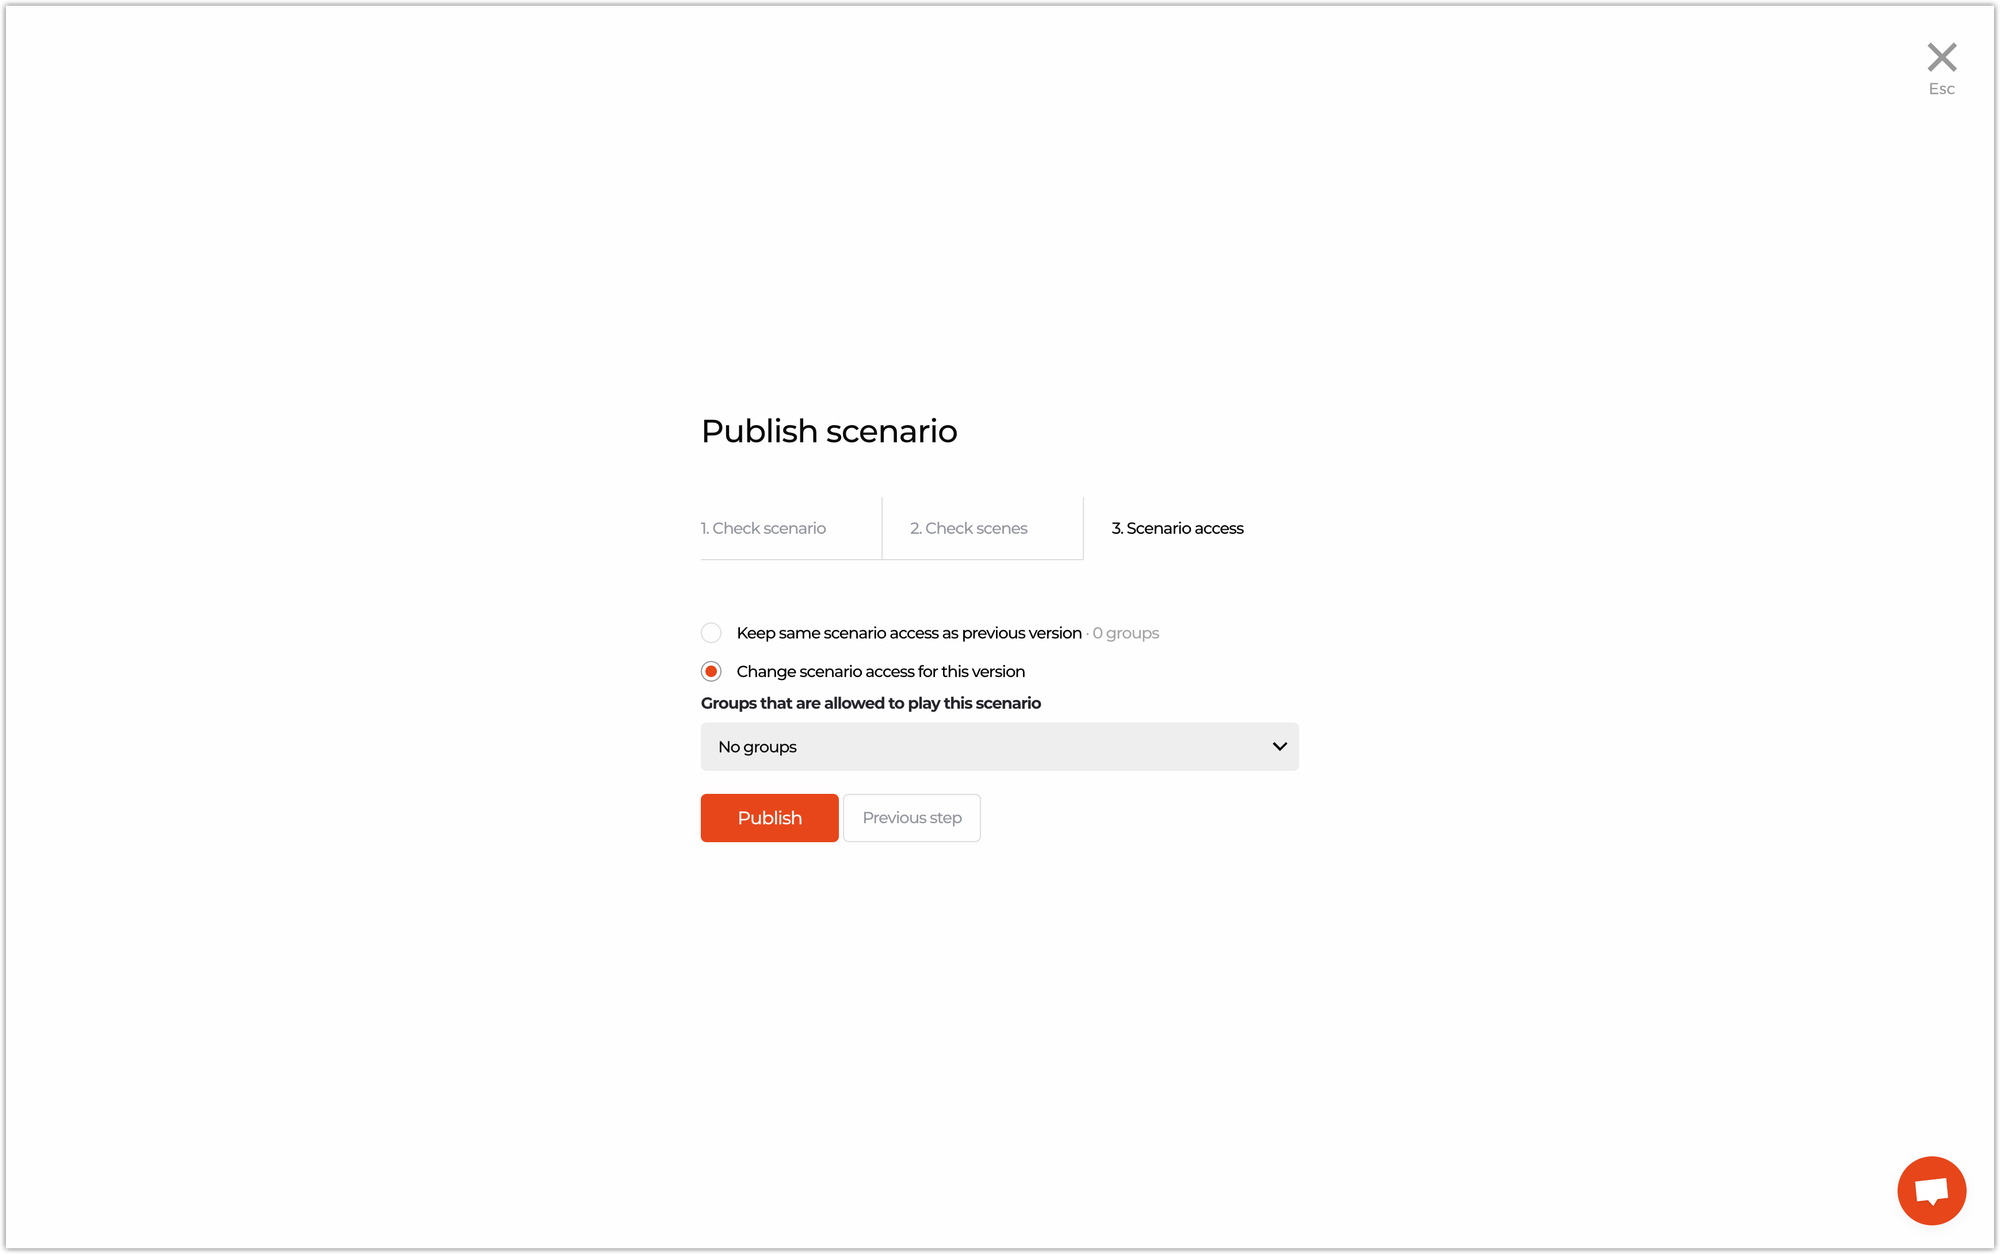
- Finally, the last step of this whole workflow is to choose the trainees which will get access to your scenario.
Voila! That is all you need to do, to create a VR scenario. Piece of cake, right? 😉
Interested in more?
➡️ Find out how to play a VR scenario once it’s published. ➡️ Learn the ways to give access to scenarios and set up their roles.